
Things have slowed down a bit this week in the shop. As we near the end of our builds we are doing tasks which require more thought and precision. This is truly what it means to be a craftsman. To think out each step in a process, keeping the end result in mind. Focusing on an individual part that is essential to final look and feel of the whole project. Slowly watching a piece take form with each chisel cut, and stroke of the rasp, like an artist uses brush strokes. Each step in the build from this point on will really effect the "fit and finish" of the guitar, so extra care must be taken to ensure proper fit and clean work. The slightest miss-step could ruin the part or the whole and cost valuable time and or materials.
The first task i had to complete this week was installing the cream plastic and tortoise celluloid bindings around the edges of the body into the ledge that was routed last week. The bindings come in strips 1/4" wide and about 36" long. I decided to use a cream plastic behind the tortoise to help bring out the contrasting colors seen in the tortoise that sometimes are hard to see when the binding is glued onto the wood.
the strips are taped together and test fitted around the edge of the guitar, then cut to the proper length.
I then prepared about 50, 4" strips of plastic strapping tape which will hold the bindings in place while the glue dries. The glue is a welding cement for plastics that is acetone based. The acetone actually melts the plastics slightly so that they bond to each other permanently.a bead of glue is applied to the ledge on the guitar, and in between the two strips of plastic in about 8" sections as it is pressed and taped into place.
This is also another task that makes you wish you had 4 arms and hands, as you must work quickly and hold everything tightly together as you move along. My fingers were sore after that day.


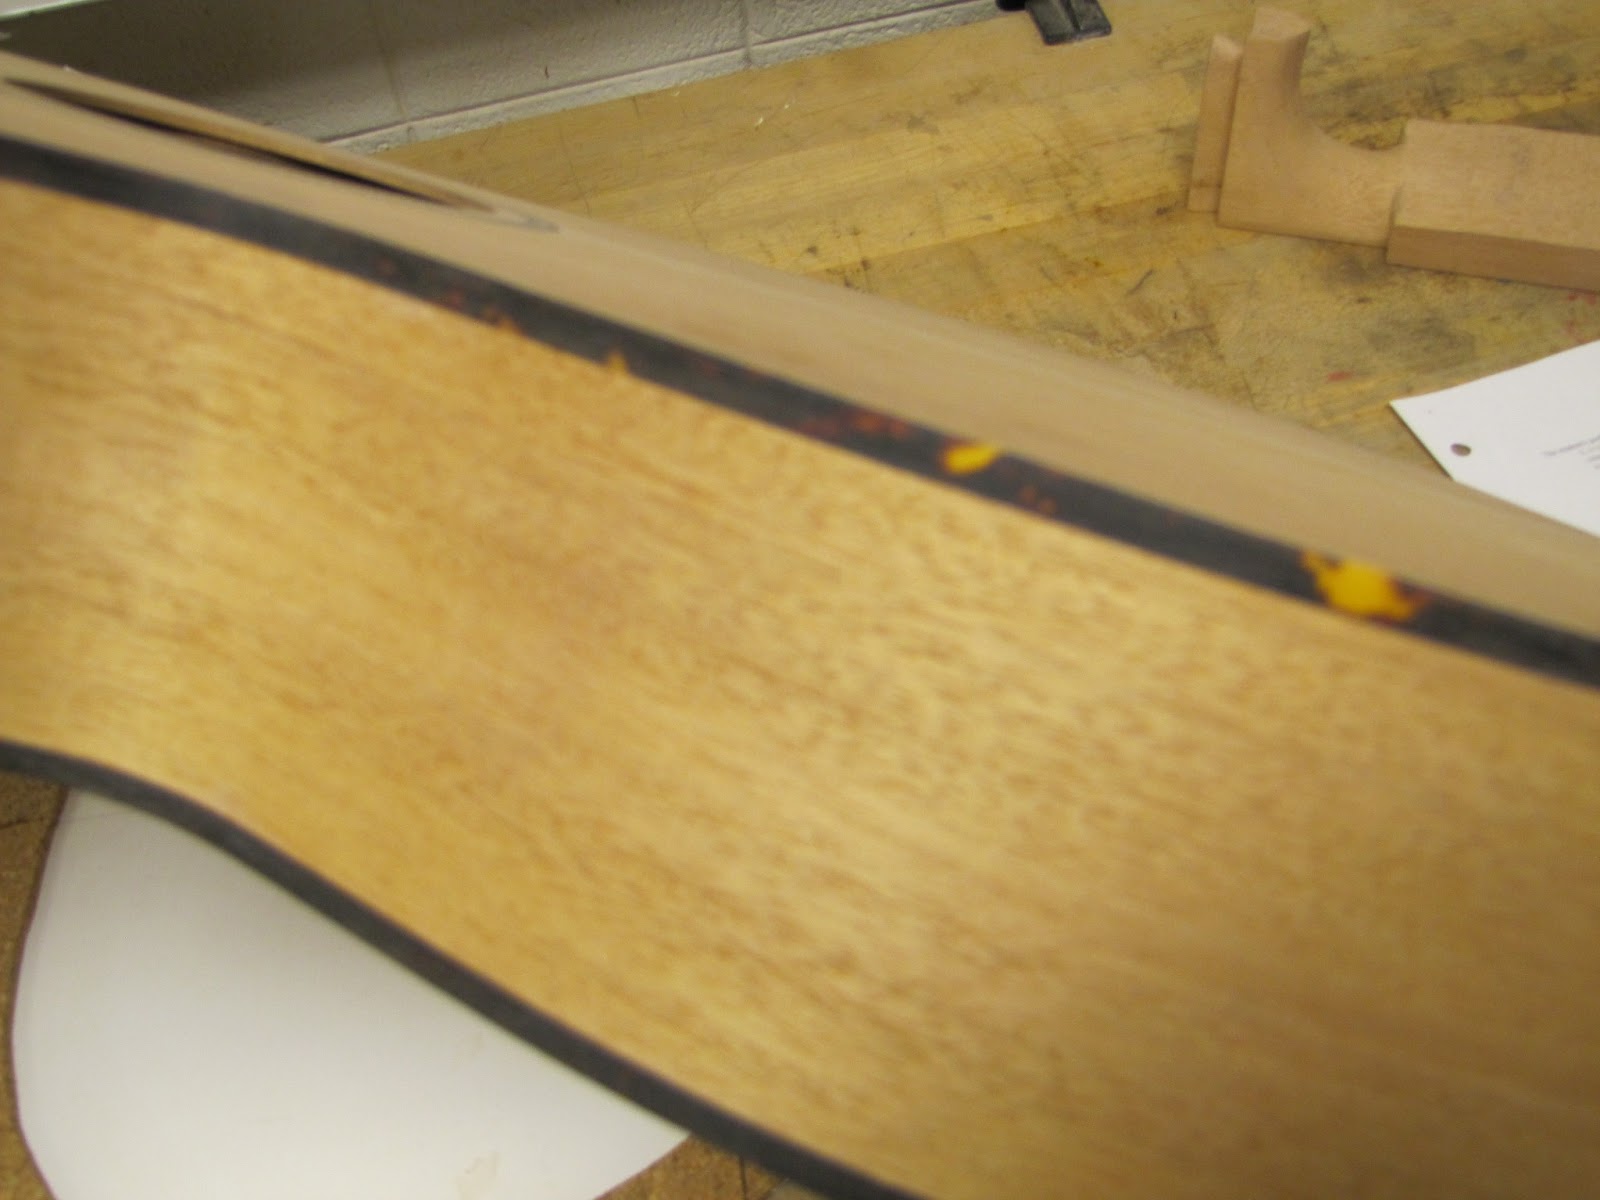


Once the glue sets up and the tape is removed, the top and back edges of the binding are scraped flush with the top and back of the guitar, and the sides of the guitar are sanded flush to the binding. During glue drying, I took some time to lay out and rough cut the neck shape from a 3"x3"x30" post. Keeping with the traditional simple recipe for this instrument I have chosen Honduran Mahogany for my neck wood, to match the body and provide many years of stable play.


The 3"x3" block will make 2 necks so its cost was split with my classmate D. Kriesel. The dimensions and general shape of the neck was derived from measurements that i took from a 1967 Martin 000.
The next step in neck construction is to measure and cut the neck angle into the heel end of the rough neck shape. If done precisely and properly this will greatly aid in fitting the dovetail neck joint and achieving the perfect angle in the neck which will ensure great play-ability.

Now the rough neck is ready to be mounted in a special routing jig that will rout a dovetail the exact opposite of the dovetail cavity we routed in the body last week. This jig system ensures proper fit with minimal had fitting required. The dovetail provides a strong wood to wood joint with no vibration absorbing bolts or pegs.
Sound waves move very freely through this joint allowing the neck to vibrate with the body helping to produce great sustain and tone.


Now the time has come to hand carve the neck heel. With the rough neck clamped tightly to my workbench I begin shaping the heel with a chisel, then more with a rasp, and to finish it is sanded out from 120-240 grit.
The 120 grit sanding removes the deep gouges left by the rasp, and the higher grits smooth away the scratches from the previous papers. The end result is a beautifully shaped heel that is sanded almost all the way out for finishing. The heel is sanded out before the dovetail is fit to avoid changing the fit when sanding.


Next week will be spent installing the truss rod, shaping the neck and head stock, gluing the neck joint, installing the fingerboard and frets, and putting the inlay into the head stock. It's almost a real guitar! Check in next week and it may look very familiar!
No comments:
Post a Comment