Sunday, April 28, 2013

Week 7... Builds finished... Winding down

     Well Its all over but the sanding and spraying! This week saw the finishing touches go into the electric build, the final buff of the last finishing project board, and the strat repair wrap up. Now just enjoying a 3 day weekend before its time to spray, spray, sand and spray!

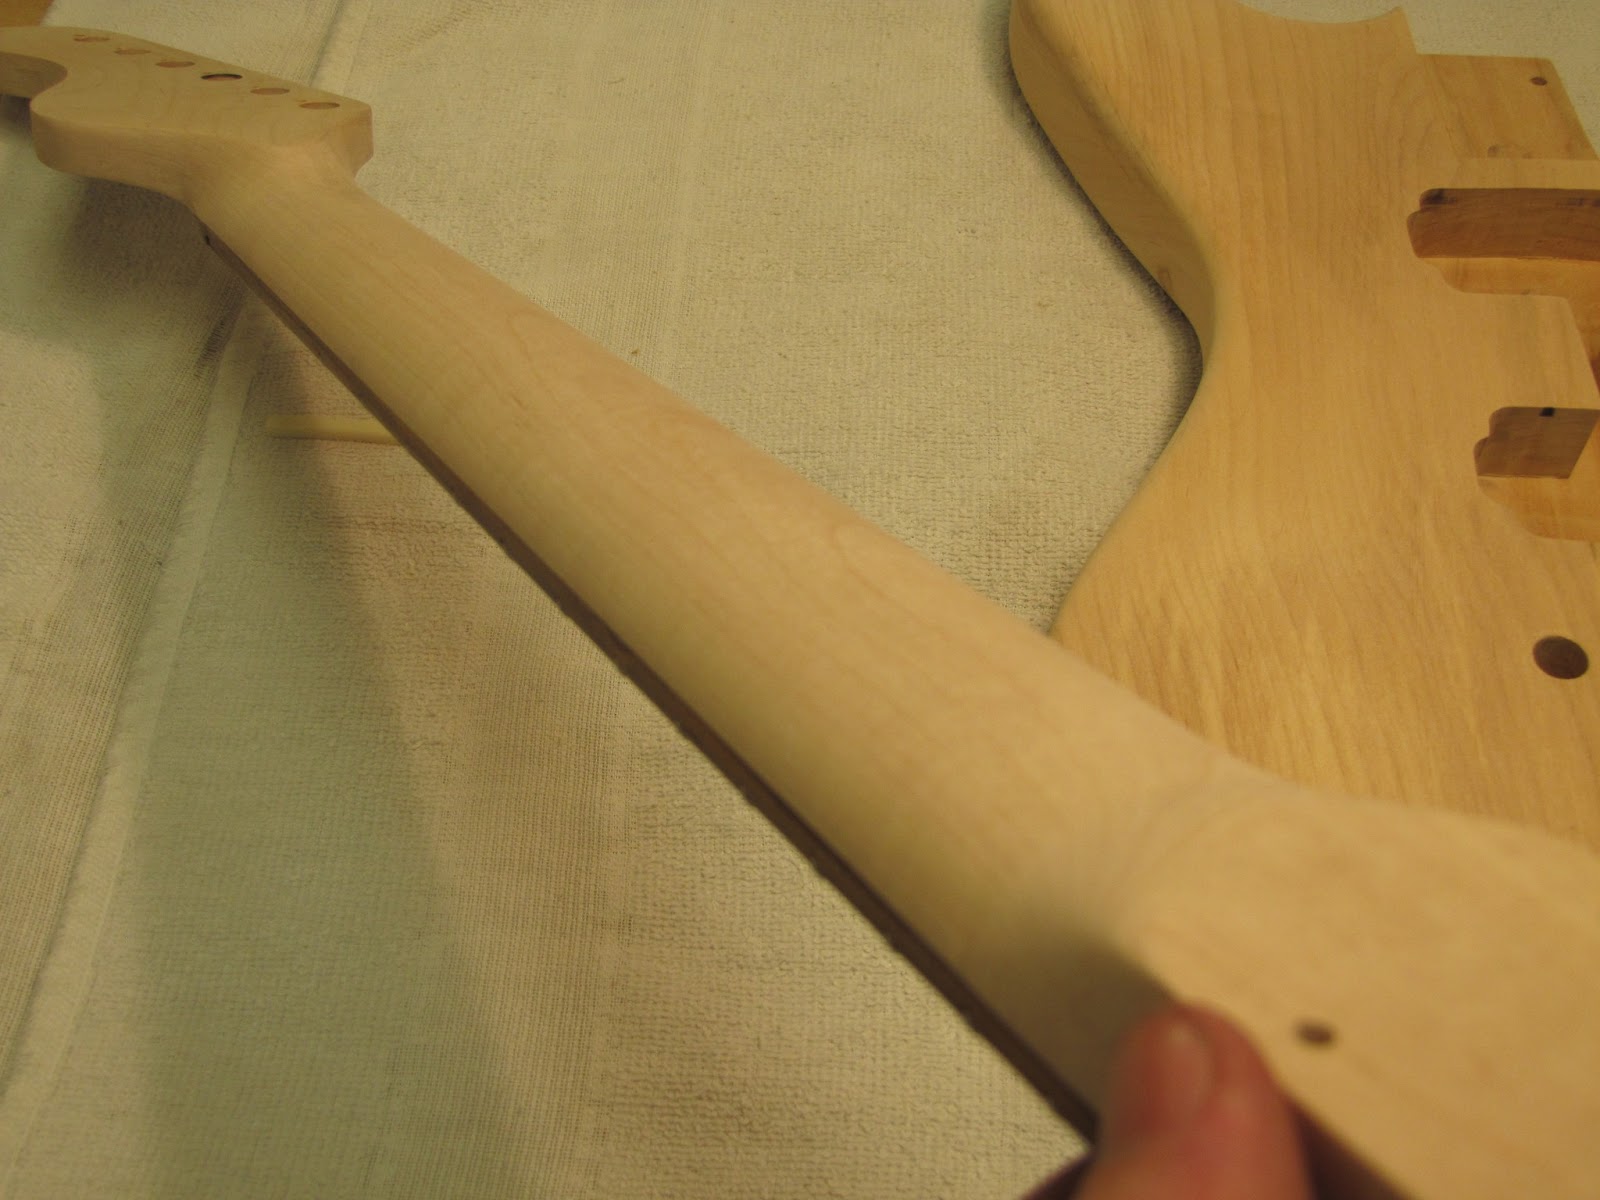
     Monday and Tuesday, were spent this week finalizing all shapes and aspects of the "Mustrat". The guitar has been shaped, and prep sanded with the grain to 180 grit along with the neck. All the electronics have been pre wired into the tortoise pick guard and chrome control plates so they are ready to drop into the guitar after spraying the finish. The frets are leveled, crowned and polished, and I made a fresh bone nut for it. The sanding is tedious work following every grain line around each curve constantly checking to be sure all the larger sanding and carving scratches are gone, but the finished product can only be as good as the prep work that goes in.

Next time you see this thing it will be a cool minty surf green with lots o chrome!


     On Tuesday I was interviewed by a woman from the College Communications office to be used in a web based student spotlight! She took some snap shots of me working, the guitars i have built , and we sat down and had a chat about my experience here at school, my past, and my plans for the future. The article will be featured on the Southeast Tech web page next week in preparation for the big annual guitar show, which showcases all of the amazing instruments built here each year.

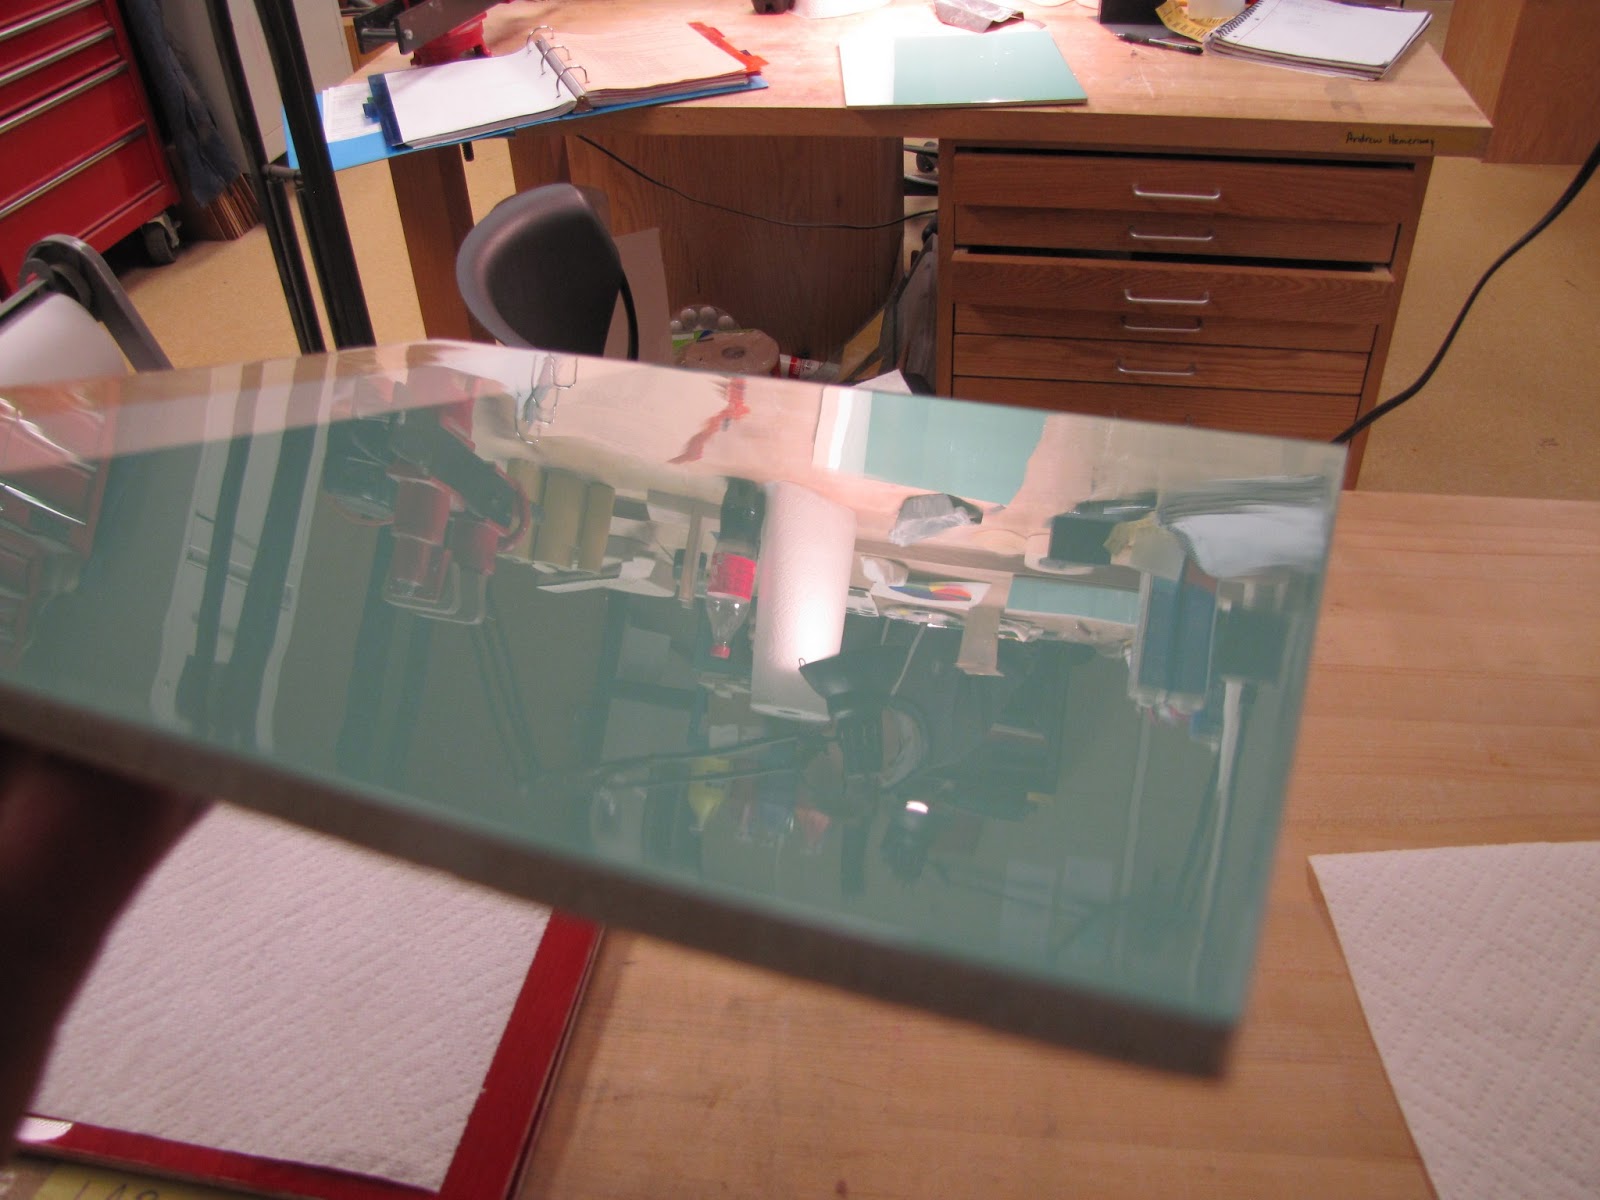
     Wednesday i took to wet sanding and buffing my "sea foam green" project board to a mirror shine for final grading. Its so rewarding to watch all the scratches fade away and reveal that flawless high gloss.


     A few coats of gloss lacquer were sprayed onto the guitar shaped sunburst board to seal those in as well

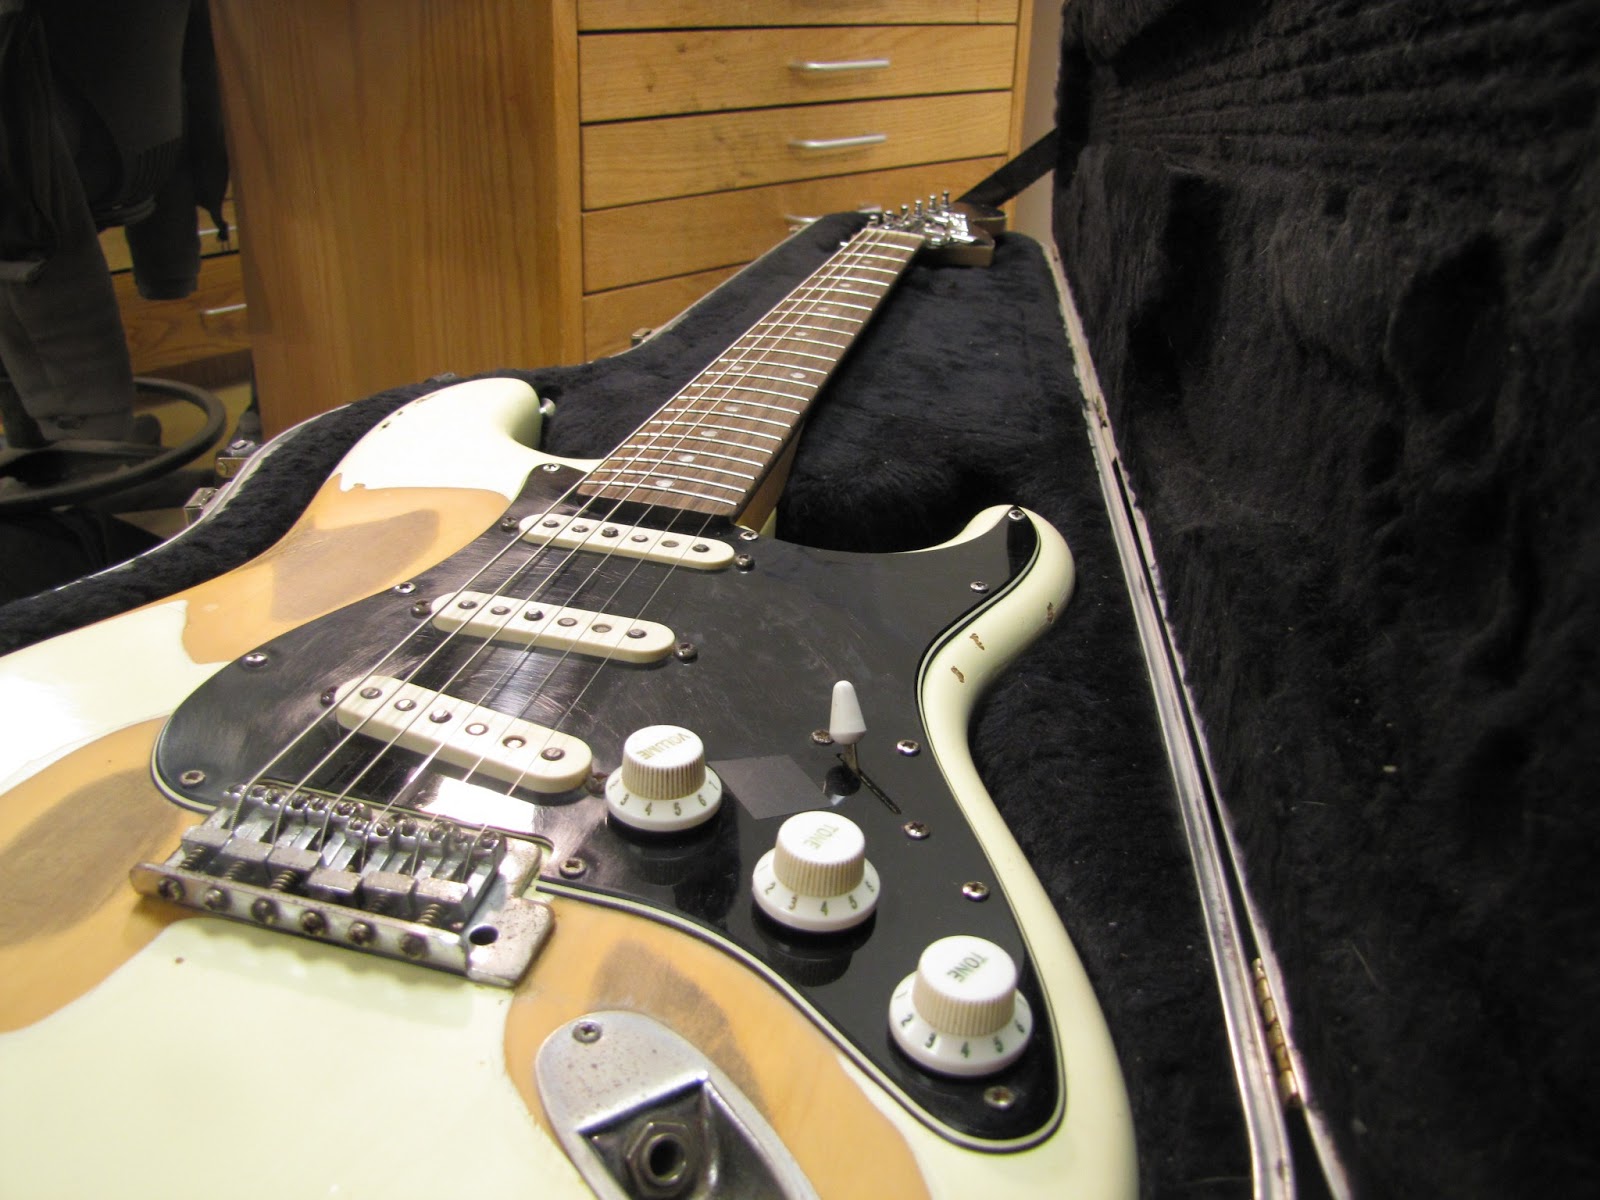
     Friday I desoldered, cleaned up and re soldered all the connections in my trusty #1 Strat. The guitar has been hastily wired a few different ways over the years with different mods ( Treble bleed loop, kill switch in, kill switch out ) and it was grounding out somewhere causing the tone controls to kill the guitar when turned down. After cleaning and re wiring everything with fresh wire and solder she is back to her sweet quiet bell like self. I cleaned her all up inside and out and re joined the freshly fret dressed neck with new bone nut to the body. Then spent a good hour setting it back up with new strings and perfect action and intonation. plugged her in and played a bit... Shes a happy girl! We've been through a lot, she deserved it......


     Well next week and a half will be spent spraying lacquer on the acoustic and waiting for paint to dry! Its sooo crazy what i have accomplished in these past 8 months! I cannot wait to hear these things play!! Thanks as always for reading and all of your support and encouragement! I'm off to enjoy this awesome weather we are finally having!!!


Sunday, April 21, 2013

Week 6... Body Routs, More color and Buffing

     Another busy week in the shop and only one more week left before its time to prep and spray finishes on our instruments and graduate! Its hard to believe that its been a full school year already! Time flies when you are learning so much.

     Construction class this week saw me nearing the finish of my electric build. Monday I routed the pick up and control cavities into the alder body, then rounded over the corners and shaped the belly and fore arm contours. The body is ready for final sanding and feeling light and comfortable!


     The next step was to shape the neck. This is a critical part of the build as it will determine much of how the guitar feels and plays. If some one picks the guitar up and the neck is not immediately comfortable to them they may not want to play it at all. The neck starts out as a rectangular block and is shaved down to thickness and given its curved shape and taper by hand. There a re a few ways to go about this, one of which is using a rasp and scrapers as I did with my acoustic guitar neck. I started this neck in the same way, then took it to a belt sander auxiliary drum to quickly rough shape and remove most of the excess wood. I then went back with the rasp and scrapers and sanding bars to give a straight even taper and comfortable C profile. There is a bit of tweaking to be done to the volute area ( where the neck meets the head stock ) and the heel area ( where the neck meets the body ) but it is pretty much done
.

                         I also laid out and drilled the tuning machine mounting holes on the headstock.


The Electronics were mounted into the pick guard and control plate for a test fit to the body..


     Wednesday and Thursday's finishing class was a bustle with color flying in the booth and from brushes, and power drills buffing out mirror shines on our Gibson Red project boards. I finished my color matching exercises, buffed my red board, finished my hand applied sunburst and sprayed a dark brown burst. 
The sunbursts are super fun to do and i cant wait till next year to get some more practice doing them in different colors. 


                     The Gibson Red buffed to a high gloss mirror shine reflecting a Les Paul off the wall.


4 Custom paint colors matched to almost perfect using artist tempra paints.


Finished Ice Tea/ Tobacco Burst hand applied 

Finished dark burst sprayed ( hard to see the yellow to red to brown fade in photo)

     The hand applied sunburst went better than the sprayed one but I absolutely love both techniques. practice practice practice!

     Friday was back to the grind making repairs to my trusty old axes. This week i began the work on my #1 Custom Stratocaster. The guitar has been my go to axe for over 10 years and has seen a lot of action in all kinds of settings. This guitar was in desperate need of a fret job, new nut , re wiring some of the electronics , and rust removal. Lets start with the fret job and new nut.  The fretboard was masked off with tape to protect the wood. Then the frets were leveled, re- crowned, ends dressed and all polished. Then the original plastic nut was removed and replaced by a handmade bone nut. 


Next week I'll pull out all the electronics, de-solder everything, clean it all up, remove some rust from the screws and hardware, and re-solder all the connections like new.  Then put it all back together and set it up to play like a dream again!  


Sunday, April 14, 2013

Weeks 4&5 Neck to Body, Color mixing and matching, Ovation repairs


Its been a very busy couple of weeks! So busy I didn't have time or energy to post last week! We have been busy at home training the new mascot/shop dog/ kiddo! Meet Spring.. She is proficient in chewing things and aerial acrobatics.

The other big news outside the shop is that I am now engaged to be married! Its been a long road and worth every minute and i cant wait to call Tanja Niemi my wife! She has been so supportive of me through this process and I couldn't ask for a better partner.

Now back to the business at hand! In the shop these past few weeks the electric guitar has been taking shape quite quickly. Only a few more steps to go and she'll be readt for a paint job and final assembly.
last week saw the fingerboard get glued to the neck, the position markers and frets were installed, the head stock was shaped and brought to thickness and the neck pocket was routed into the body and recieved the neck!


Fender-ish Head stock rough shaped before gluing the fingerboard on to the maple neck stock.


Finger board all glued up and clamped on tight! let sit for 2 hours and then flush trimmed the excess neck wood off on the router table.


Installed vintage style clay dot markers and medium tall frets into the gorgeous Cocobolo fingerboard. trimmed fret ends, filed them, beveled them and dressed them to remove sharp edges. The neck will be left alone now till final shaping and tuner installation. 


 A neck pocket template was made from the neck itself to ensure a perfect fit for the neck to the body.
The pocket angle was calculated and the template was shimmed up to produce the correct angle for the cut out. The pocket was routed out and the neck was bolted tightly to the body. Its really looking like something now!!!


 A Schaller Locking Roller Tune-o-matic Bridge was installed in precisely the correct position for scale length and intonation. The bridge has rolling saddles to provide smooth action for the Bigsby Tremolo system that will be installed.


 Ahh and there she will hang with her cousins till next week when the control and pick up cavities are routed
and the body contours and neck shape are put into place.

Finishing class has been a fun time for me these past few weeks also. Finally finishing a few project boards and receiving good marks on them has boosted my confidence that my skills are improving on par with the course. We spent more time with our color theory and started mixing some custom colors, as well as matching paint colors.


 Fun with color! Finished my color wheel showing the Primary, Secondary, And a few Tertiary colors.
Then experimented with warming and cooling color hues starting with yellow and adding red on the warm side then adding blue on the cool side. This project is finished now as well with the cool side reaching a blue tone and the center circles moving from red to violet. i forgot to snap a pic before turning them in!


 Tried my hand at custom color matching adding drops of paint at a time trying to match the Sherwin Williams Cooled Blue paint chip in the top photo. Got it close but still a bit dark. We are using tempera paints and matching the hues and sheens exactly is almost impossible.
Then I turned to mixing custom dye colors for dyeing woods before clear coats. I call the three colors. Iguana, Aqua, and Fire..


Some of the finished project boards in high gloss and satin pore filled finishes on mahogany. The high gloss will still need sanding and buffing to make a perfect mirror shine. The satin board is done and tuned in, the white maple board was primed white then painted with what my instructor is calling his take on sea foam green. ( i think it need more green and white. looks more like a sonic blue to me) Then it got 8 coats of gloss lacquer. 


 This is my first attempt at a hand applied tobacco sunburst! its a nice look. Still need some tweaking to remove the hard lines between the colors but this was a super fun job and I am so exited to learn this technique.

Repairs class was spent giving my vintage 78' Ovation Celebrity some much needed attention. The guitar is a family heirloom that I have had since I was a teenager and it has been through hell with me before i really knew how to care for it properly. The guitar has developed some problems over the years such as severe buzzing and low action due to top movement and poor set up. I spent some time leveling the frets, rounding and smoothing the sharp corners of the original nut, and making a new taller compensated bone saddle to raise the action and correct the intonation.


The fingerboard was taped off to protect the wood. Then the frets were leveled re crowned and dressed.to give a new perfectly flat playing surface.


 The frets were then polished to a high shine and the corners of the original nut were taken down and rounded over for comfort. The corners were originally left sharp from the factory.

This is the new bone saddle i made for the guitar to raise the string action to a normal comfortable range, and compensated the landings for each string for perfect intonation, Its so nice to play this treasured instrument now that it sounds and feels as it did 17 years ago when i first received it.
Thanks again for following my progress here. I cant wait to have this rewarding feeling each day when I find myself being paid to do work that i truly love so much.