Yet another busy, busy week in the shop. Vintage guitar mods, 3D Blueprinting, and F-holes!
Also took a trip to the wonderland that is Dave's Guitars, in La Crosse WI. If you have ever played a guitar in your life you should go there and spend some time. Downstairs contains the largest selection of new and used guitars I have ever seen in one place of all flavors, and upstairs is the museum which contains Dave's priceless collection of amazing vintage guitars and amplifiers. GO THERE!
Wall o casters! The wall up the stairway to the museum covered with Vintage Fender goodness.
The one that started it all! early 50's "No-Caster" before becoming known as the Telecaster.
The 1954 Stratocaster. The guitar that Changed Rock and Roll.
Now that you are interested! Lets talk about my work this week! Well start with repairs class where i began some vintage resto/mod work of my own. I started bringing this mid 60's Sears Silvertone hollow-body electric guitar back to life and making it playable.
Sweet little axe! Nice finish, Bigsby-style tremolo, and super lightweight!
Only Identifying marks are model and serial numbers which i researched and found these guitars for sale through Sears in the mid 60's. I located this exact model in The 1964 Sears catalog.
Two mellow single coils give this guitar a great funky tone. The roller bridge is awkward and misplaced. It is also not adjustable for intonation which means the guitar does not play in tune as you move up the neck. If this were en extremely valuable guitar replacing this set up with a modern adjustable one would be out of the question as it would ruin any vintage value the guitar might have. This is not really the case here so I will be removing the old bridge, replacing it with an adjustable tune-o-matic, and offsetting it for intonation.
The controls on the guitar are also pretty cool with master volume and tone knobs, and on/off switches for each pickup. The switches are worn out and non working so both pickups are always on. and the pots are dirty and corroded, but still mostly work. I will be cleaning and adjusting the contacts in the switches to restore their operation, and cleaning or replacing the old corroded pots for the volume and tone control.
Even with the current bridge adjusted all the way down for lower action ( the old bridge only adjusts up and down ) the action is over a half inch high! Perfect for slide blues, but not at all comfortably playable. After the new bridge is installed the neck will be shimmed for proper angle and set back to center. It will also receive all new frets and a fingerboard level.
The first step for this project is to remove the old bridge and plug the holes from where it was installed. The bridge is held by top mounted bushings and sits in 1/4 inch holes in the top and an interior support block. After removing the bushings that are held in place by two small screws, i plugged the holes with 1/4 inch wooden dowels, and cut the dowels flush to the top. The dowels will be color matched and the small screw holes will be filled and matched to hide them as well as possible.
Hole plugged
Dowel trimmed flush. This will be repeated for all the holes from the old bridge set up, and the plugs will be color matched to the top.
I will have to use a different type of bushing to mount the new tune-o-matic bridge, and had to go on a hardware search for just the right part that would be functional and also look like it was part of the original hardware. I found them at a local hardware store for under 3 bucks! Pics of that next week!
Rhino CAD class is picking up pace as we continue working on out 3D blueprinting of acoustic guitars. My 3D drawing is coming along with almost all of the top bracing in place and almost ready to give it thickness-ed top sides and close up with the back. I thought I had a few pics of this, but I guess you'll have to wait till next week! We have also been learning how to take our designs to the CNC machine and have it cut out our parts! It is so cool to see this happening! So far we have only routed out a few simple shapes. I chose to try one of my updated logo designs on Thursday and it turned out pretty sweet!
Freshly cut Aaron Paul Custom Lutherie logo.
Do you see it? A P C L?
The mandolin build is really moving along! The top is thickness-ed and graduated. All of the arching inside and out is even and smooth, which means its time for F-holes! This was a really fun part of the build for me because it took a lot of precision work and focus and when it was done this thing really looked like a mandolin top!
I have been keeping a kind of journal for this build noting the shape, arching, thicknesses at different points and will add other details as the build progresses. This will be useful in the future to guide other builds so that things that worked can be replicated, and things that need changes can be addressed with clear reference.
The F-hole locations were laid out using a card-stock copy of the plans with the hole cut out on one side and a clear center-line marked. The center of the template is matched to the center of the top and the holes are traced on.
Once laid out, all is double and triple checked before any drilling or cutting. a small hole is drilled through the center of the round ends of the f. and a jewelers saw is used to cut the shape out of the top.
The hole are cut rough to the inside of the finished shape.
Then various knives files and sanding sticks are used to finish them out.
This ones almost done.
Photos of me hard at work sanding and filing to perfection!
These photos were taken by a classmate who will remain nameless for legal reasons. but thanks dude!
All done! and looking good!
Smooth lines and sharp points. The signs of fine craftsmanship.
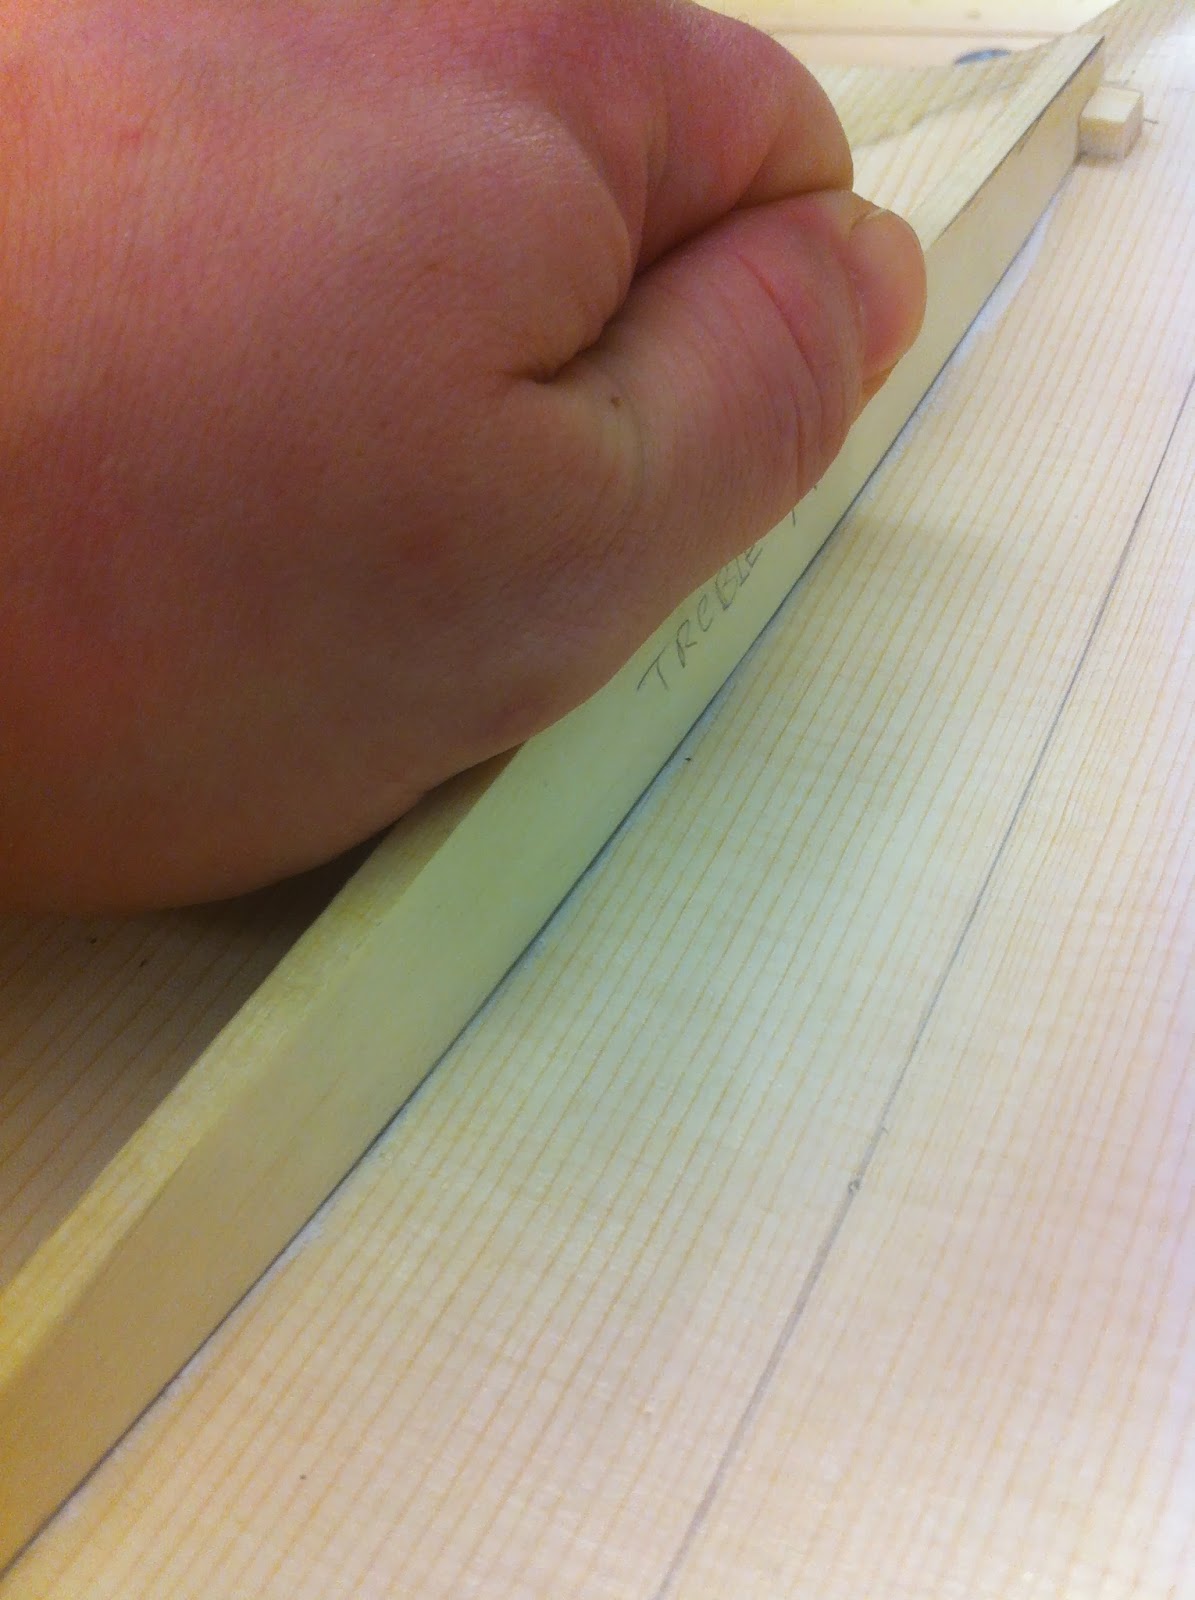
Mirrored on the treble side.
The next and final step on the top before gluing it to the ribs is to fit the inside tone bars. The tone bars are narrow spruce braces that run along the length of the top on precise locations providing support to the arches under string tension. They also focus the vibration of the top helping to produce the desired sound.
Prepping and laying out the tone bar locations for fitting next week. The bars will be carved to fit the inside arch of the top perfectly, then they'll be glued in place.
Thanks for stopping by and see ya next week!