Saturday, May 25, 2013

Sweet Victory..... & Sweeter Tones


     Well Its all over! I am sitting in my living room looking at two beautiful hand made guitars that over the past 5 months through my sweat, blood, tears, and hard work, have taken shape from piles of wood and hardware. These are Two of the finest instruments I have ever played and they came to life by my hand. It has been such a rewarding journey, and dream come true for me. I have learned so much and done more than I knew I could this year. Thank you all who have supported me throughout this experience. I cant wait to dive deeper into the world of luthiery next fall in the Guitar Development Program. But until then I'm going to head to the basement and enjoy the fruits of my labor! So without further adue, I introduce to you the finished Aaron Paul Luthiery All Mahogany Simple Man, & Surf Green Mustrat!

The view from the couch....

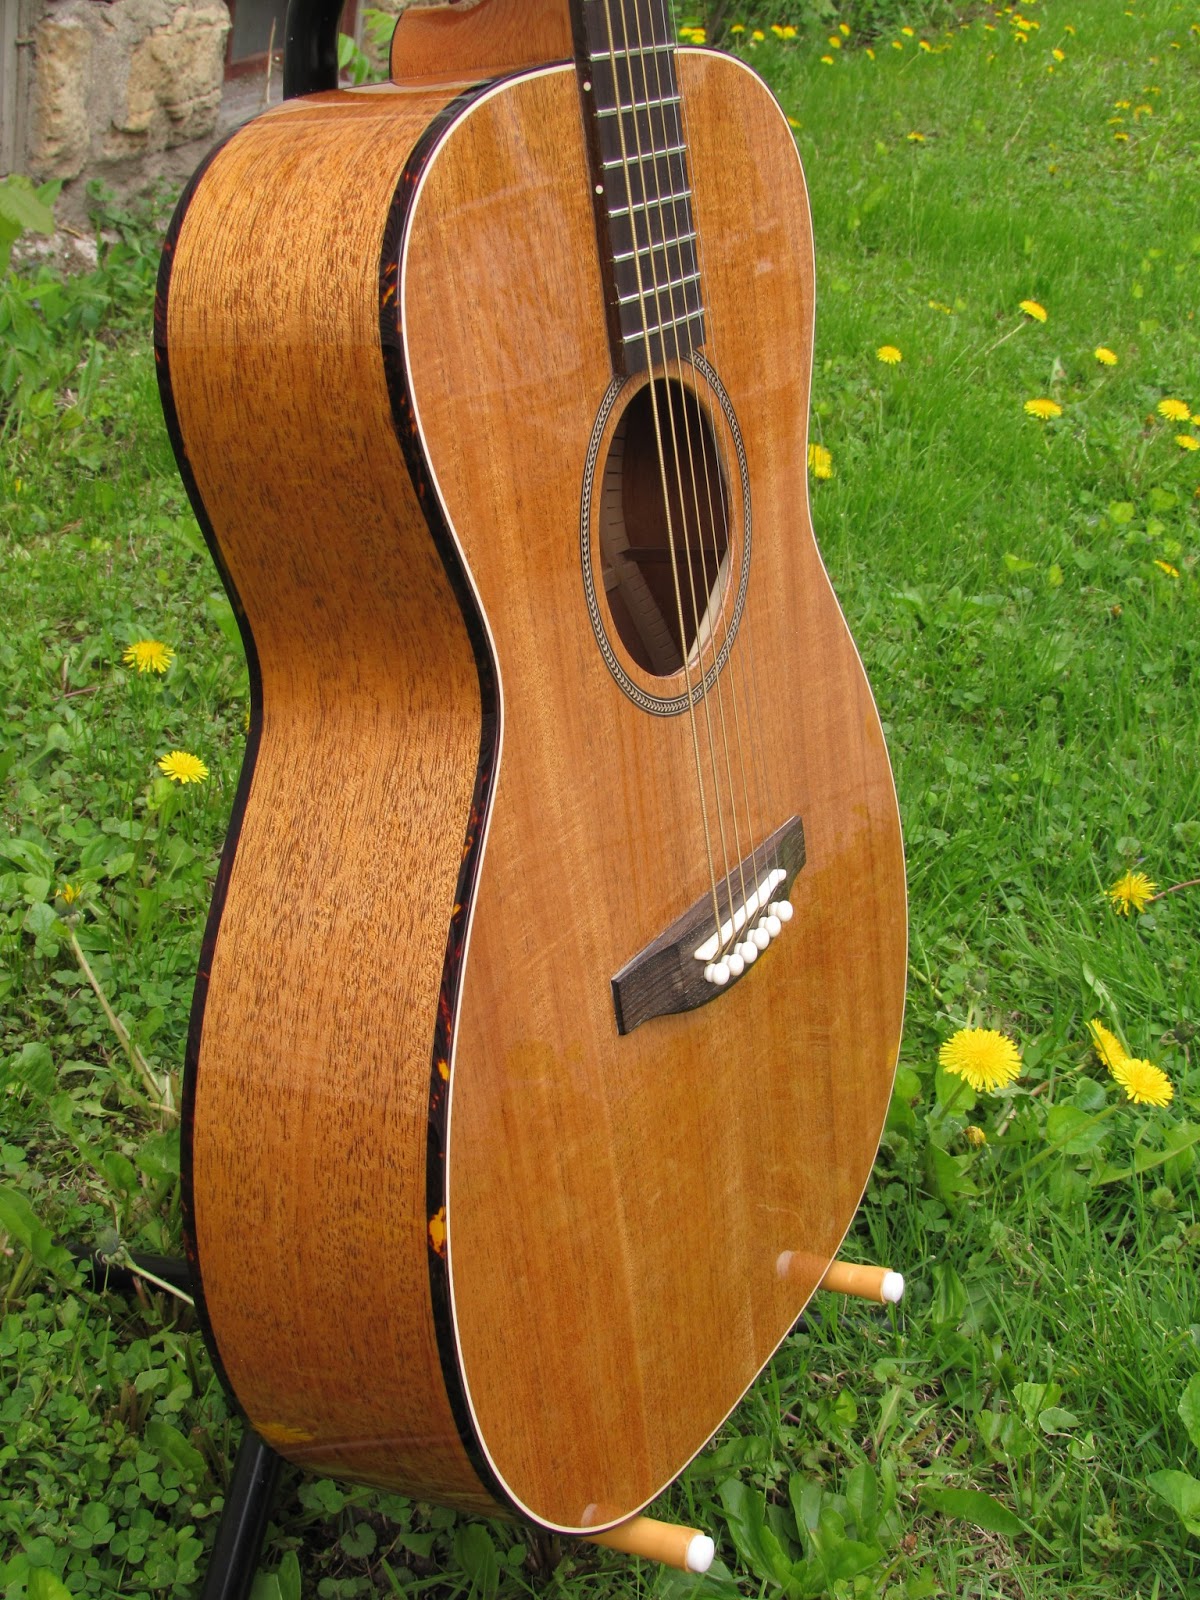
The Simple Man.......
Solid Mahogany Top, Back, Sides, & Neck
Macassar Ebony Bridge, Fingerboard, & Headplate
Cream & Tortoise Binding
Bone Nut, Saddle, & Bridge Pins
Grover Vintage Open Back 2 Tone Tuners


The "Mustrat"
Alder Body, Custom Surf Green/Sonic Blue Paint
Vintage Amber Tinted Subtle Flame Maple Neck, Cocobolo Fingerboard
Tortoise Pick Guard, Chrome Hardware
Seymour Duncan P-Rails Humbucking Pick Ups With Triple Shot Mounting Rings
Offers P-90, Single Coil, And Humbucking Tones, Over 30 Switching Options
Master Volume & Tone Controls, & 3 Way Selector
Bigsby Vibrato, Schaller Roller Tune-o-matic Bridge
Bone Nut, Schaller Locking Tuners


Sunday, May 5, 2013

Week 8, Sanding, Spraying, Filling, Sanding and Spraying, but mostly Sanding

     The time has finally come! We are finally putting a finish on our guitars that we have worked so many hours to construct this semester! Its been a long rewarding road, with a few bumps along the way, but it has been worth all the sweat, blood, and stress.

     I began the week with my acoustic mostly prep sanded to 220 grit. I sanded what remained and inspected every inch of all of its surfaces under a low angle light to ensure there were were no random scratches, dents or other imperfections. This sanding step is crucial to a flawless finish and is closely inspected by our instructors David, and Brian.

     After getting the ok from the instructors it was finally time to spray a coat of vinyl sealer and get a sneak
peak of the wood would look like under a clear coat. Its quite a tease because it looks sooo good and the next step will make it look so much worse!


     That next step is to smudge oil based pore filler all over the guitar and squeegee it off pressing the filler into the open pores to fill them and leave a smooth surface to finish. Most guitars with spruce tops only get pore filled on the back, sides, and neck. My guitar however is all mahogany having large open pores that must be filled on all surfaces. I was in the work mode and did not get a chance to snap a photo of my guitar all smudged up so here are a few i snapped of my classmates just to show you the horror.


     The paste pore filler is painted on, rubbed off, and left to dry over night. Any time these guitars are drying they are hung from hooks on racks in the finishing area. 


     After drying over night the paste pore filler is sanded off smooth to reveal the wood again with all the pores full and smooth ready for finish. This sanding step took me an entire day to complete. It has to be done once again with just as much scrutiny as the prep sanding to ensure there are no scratches left that will be extremely apparent under the clear finish. This should be the final prep sanding. The next step is to re seal this pore filler with vinyl sealer. The guitar is now back to its beautiful almost finished state. After the weekend of drying I will spray 4-5 coats of clear lacquer on the guitar and really bring up the shine and depth of the finish. By the next time you read the guitar should be Finished and ready for strings and set up!