Sunday, February 24, 2013


Its almost a guitar!!!! I.m so exited to hear it played! There is only one week left in the build for final touches, then we will have to wait 7 more weeks while we construct our electric guitars and learn about finishing, before we can string them all up and finally hear those first notes. The waiting will be so hard but well worth it I'm sure.

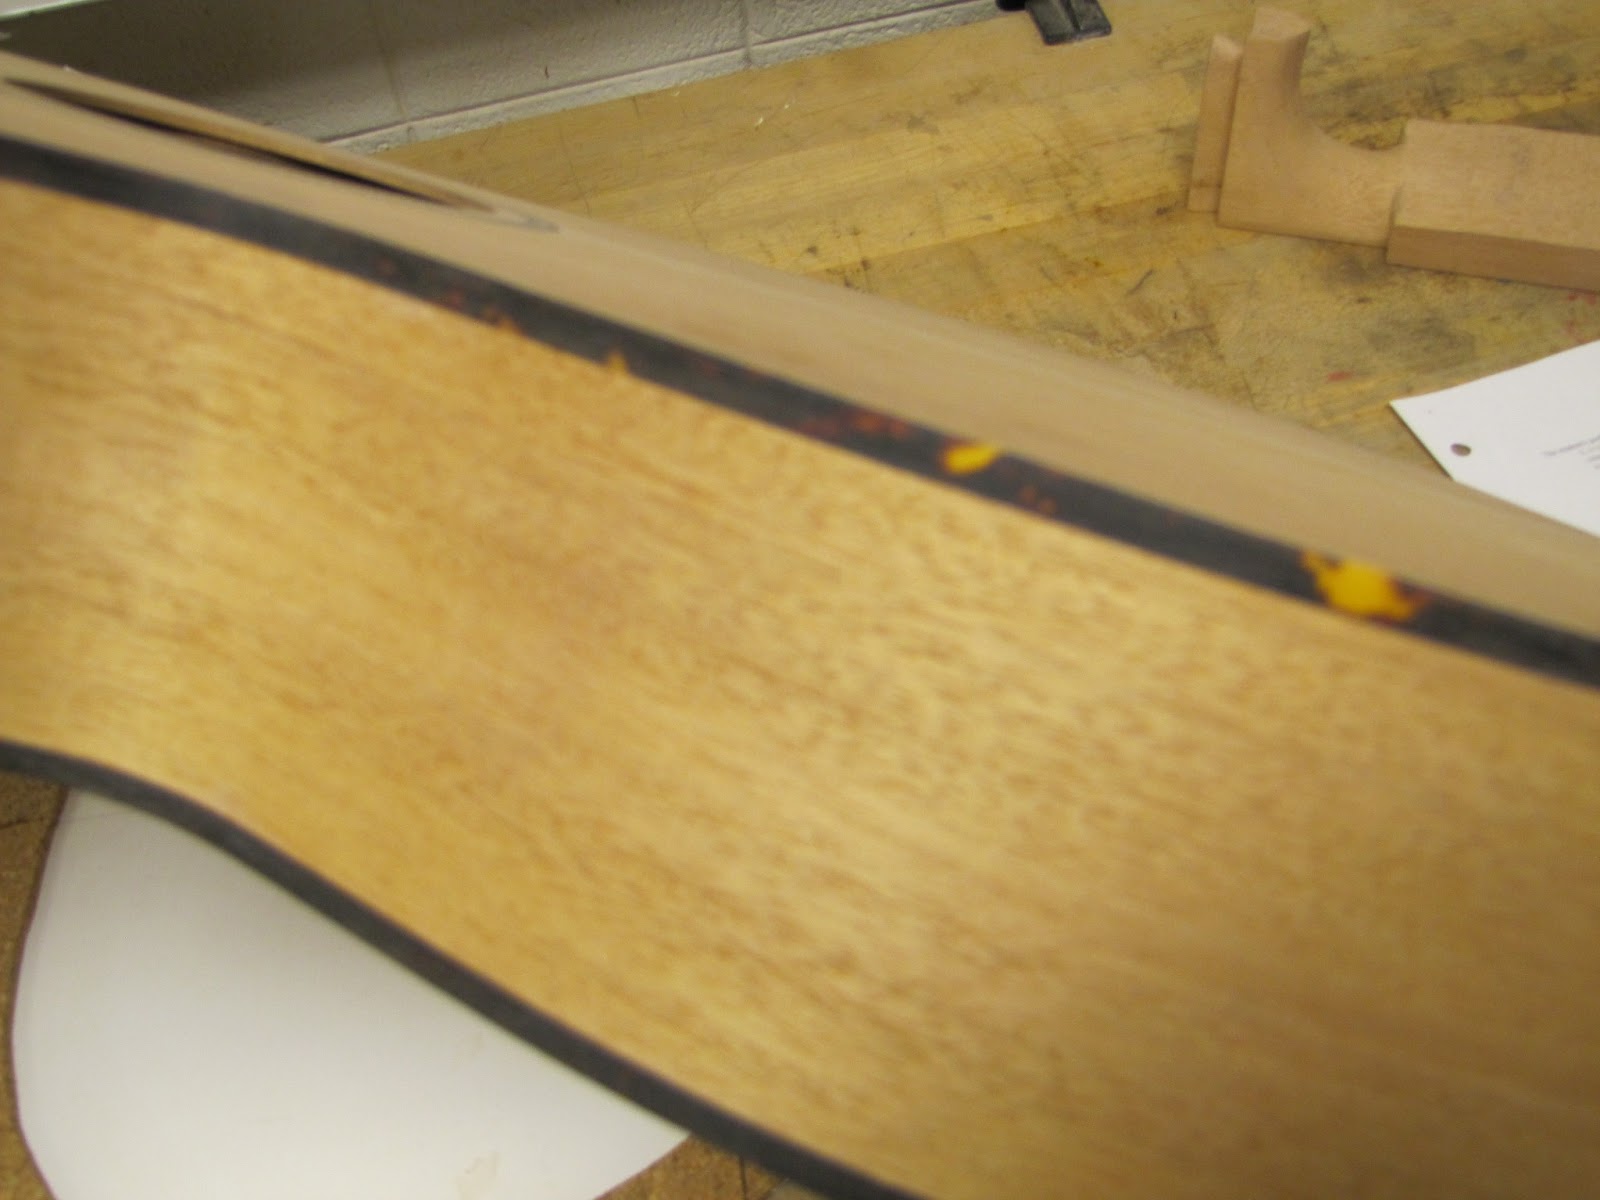
This week has been another busy one full of a good deal of precision work. My first task this week, which i have been kind of dreading, was to fit the dovetail neck joint. The dovetail fit is essential to good action and a long life for the guitar. If it does not fit tightly and at just the right angle to the body the tone and play-ability of the instrument will suffer greatly. Also a good tight fit of the neck heel to the body will finish nicely with no unsightly spaces or gaps. All of the fitting is done by hand with a sharp chisel and a good deal of patience.
During our first semester classes we were taught how to do this using mock up neck body joints in a Neck Reset class. Neck resets are a valuable and essential repair for quality instruments whose action has become too high for normal adjustments due to many years of string tension pulling on the neck. Many vintage guitars can be made to play like or better than new using these techniques. The neck heel and dovetail are shaved down by thousandths of an inch at a time and test fit into the body over and over until the fit is tight and flush at the proper neck angle for the instrument.


After the dovetail is fit properly a slot is routed down the center of the neck for the truss rod to fit into. The truss rod will allow slight adjustments to the neck throughout its life for the best possible action. Routing the slot is kind of tricky because it is done face down on a routing table so that you cannot see the cut being made. This means it is very important to take extra care when setting up the router for this task to ensure a good straight cut.
To add a nice finished look to the head stock of the guitar many makers apply a thin veneer of wood that matches the fingerboard and bridge wood. I will be using a nice striped piece of Macassar Ebony for this part of my build. The brown and black stripes in the ebony provide a nice woody contrast to the lighter Mahogany body. The veneer is taken down to a thickness of about 70 thousandths of an inch. One edge is planed to the same angle of the head stock, then the piece is flipped around and glued onto the head of the neck. The reversed angle then becomes perpendicular to the flat neck forming a square back edge for the nut to sit in later.


For gluing the veneer is clamped to the head stock using a wooden template of the head stock shape.
The template is made by gluing a drawing of the head stock to plywood then cutting and shaping it to the exact final shape desired. The template is clamped into place and two of the tuner holes are drilled through the template, veneer, and head stock. brass pins are place in these holes to maintain proper alignment when gluing. This is another step where accurate drawings are essential to a good final product. after looking very closely at my drawing i determined that the shape was mot perfectly symmetrical and ended up having to use half of it and flip it over to get a perfect shape.


The shape is traced onto the veneer and cut out on a band saw and planed and sanded to its final shape and thickness. The other 4 tuner holes are drilled using the template for alignment and all 6 holes are widened to their final size to accommodate the tuner bushings. The truss rod slot is carved out of the head stock veneer, and widened for wrench adjustment and the truss rod is laid into the slot in the neck. For a cleaner look the truss rod can be run through the neck body joint to be adjusted through the sound hole. I have chosen to run it out the head stock for ease of adjustment later.


The neck is now re checked for fit to the body and if all is well it is glued in. We use Hot Hide glue for this joint so that it can heated and steamed out many years down the road making the job of neck reset go much smoother. The neck is glued in and clamped up tight! A few hours later its another step closer to being a guitar!


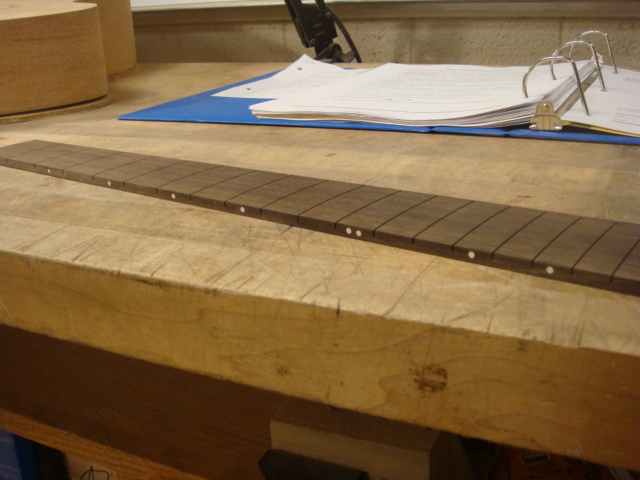
While the neck joint was drying and setting up, I took the time to install the frets into the ebony fingerboard.
After learning fretting a few different ways last semester I have come to like the method of pressing the frets into place with an arbor press. I also like to use a bit of TiteBond wood glue to lubricate the fret slots and hold the frets in place. I have found that this sets the frets well and all with out any gaps. The first and thirteenth frets are left out for pinning the board while gluing it to the neck. Tiny holes are drilled into the open fret slots and old drill bits are used to pin the board into place for clamping and gluing. Once again Hot Hide Glue is used for this joint to facilitate easy removal if and when a neck reset is needed.


After a few hours of being clamped up tight, The fingerboard is stuck down good! All the clamps come off and its so close to being finished! Next week all that remains is to shape the neck, inlay my official logo into the head stock and prep sand for finishing! I can't wait till its all done and in my hands making sweet, sweet music!


Saturday, February 16, 2013

Week 5, Binding & Neck Dovetail, Craftsmanship....


Things have slowed down a bit this week in the shop. As we near the end of our builds we are doing tasks which require more thought and precision. This is truly what it means to be a craftsman. To think out each step in a process, keeping the end result in mind. Focusing on an individual part that is essential  to final look and feel of the whole project. Slowly watching a piece take form with each chisel cut, and stroke of the rasp, like an artist uses brush strokes. Each step in the build from this point on will really effect the "fit and finish" of the guitar, so extra care must be taken to ensure proper fit and clean work. The slightest miss-step could ruin  the part or the whole and cost valuable time and or materials.

The first task i had to complete this week was installing  the cream plastic and tortoise celluloid bindings around the edges of the body into the ledge that was routed last week. The bindings come in strips 1/4" wide and about 36" long. I decided to use a cream plastic behind the tortoise to help bring out the contrasting colors seen in the tortoise that sometimes are hard to see when the binding is glued onto the wood.
the strips are taped together and test fitted around the edge of the guitar, then cut to the proper length.
I then prepared about 50, 4" strips of plastic strapping tape which will hold the bindings in place while the glue dries. The glue is a welding cement for plastics that is acetone based. The acetone actually melts the plastics slightly so that they bond to each other permanently.a bead of glue is applied to the ledge on the guitar, and in between the two strips of plastic in about 8" sections as it is pressed and taped into place.
This is also another task  that makes you wish you had 4 arms and hands, as you must work quickly and hold everything tightly together as you move along. My fingers were sore after that day.


Once the glue sets up and the tape is removed, the top and back edges of the binding are scraped flush with the top and back of the guitar, and the sides of the guitar are sanded flush to the binding. During glue drying, I took some time to lay out and rough cut the neck shape from a 3"x3"x30" post. Keeping with the traditional simple recipe for this instrument I have chosen Honduran Mahogany for my neck wood, to match the body and provide many years of stable play.


 The 3"x3" block will make 2 necks so its cost was split with my classmate D. Kriesel. The dimensions and general shape of the neck was derived from measurements that i took from a 1967 Martin 000. 

The next step in neck construction is to measure and cut the neck angle into the heel end of the rough neck shape. If done precisely and properly this will greatly aid in fitting the dovetail neck joint and achieving the perfect angle in the neck which will ensure great play-ability. 


Now the rough neck is ready to be mounted in a special routing jig that will rout a dovetail the exact opposite of the dovetail cavity we routed in the body last week. This jig system ensures proper fit with minimal had fitting required. The dovetail provides a strong wood to wood joint with no vibration absorbing bolts or pegs.
Sound waves move very freely through this joint allowing the neck to vibrate with the body helping to produce great sustain and tone.


Now the time has come to hand carve the neck heel. With the rough neck clamped tightly to my workbench I begin shaping the heel with a chisel, then more with a rasp, and to finish it is sanded out from 120-240 grit.
The 120 grit sanding removes the deep gouges left by the rasp, and the higher grits smooth away the scratches from the previous papers. The end result is a beautifully shaped heel that is sanded almost all the way out for finishing. The heel is sanded out before the dovetail is fit to avoid changing the fit when sanding.


Next week will be spent installing the truss rod, shaping the neck and head stock, gluing the neck joint, installing the fingerboard and frets, and putting the inlay into the head stock. It's almost a real guitar! Check in next week and it may look very familiar!


Sunday, February 10, 2013

Week 4, Guitar Shaped Box

So Close you can almost hear the music! All that"s left to do is construct and set the neck, install binding, final sanding, spray finish, make the bridge, and string her up!

You can feel the excitement build each day in the shop, as we near completion of our projects. Each step now is more and more crucial to the final appearance of the instrument so care must be taken to ensure good fit and finish. Each item must be carefully thought out and planned, before making any cuts, routs or sanding strokes.

We began the week by sanding the edges of the ribs and kerfing flush together. We purposefully install the kerfing about 1/16- 1/32" high on the ribs so that we can sand it all flush using radius dishes and bars to leave those edges the same radius as the top and back. This allows for a snug stress free joining of the top and back to the ribs,


 The ribs are also braced with thin cross grain strips of mahogany to ad extra strength. For this final set of braces we carefully notch the kerfing in even spacing along the rib, and clamp and glue snugly fit strips in place across the rib from kerf to kerf.


The next step was kind of a tough one. We laid the ribs on the top, lined everything up and marked where the x braces and upper transverse brace met the ribs on the inside and outside. These braces were left long when they were installed and shaped so that they could be notched into the ribs for added strength. These marks must be double, triple, and quadruple checked to ensure everything is lined up properly before cutting any of the notches. If any thing shifts and you don't notice it, it could possibly ruin the work that you have done to this point! The notches are carved one at a time. Then the alignment is rechecked with all other marks. Phew! That was a bit tense!


 It Fits! Time to glue this baby up! Getting even clamping pressure across the top is crucial to a good solid glue joint. Some builders use spool type clamps places all around the edge of the box. In our shop, David our instructor, prefers the bungee cord method. To achieve this, screws are installed around the edge of our work board. The guitar is place on the board, glue is applied to the rib edge, the top is set in place, clamps are placed over each end block, and 40 feet of bungee cord is wrapped snugly across the whole thing looping around the screws and back across the top. This leaves a web of bungee pressing the top into place tightly and evenly.


 The back of the guitar is voiced in the same manner as the top by tapping, flexing and shaping its braces.
Then the back edge of the ribs are notched to receive the back braces in a similar way to the top. Only for this step David showed us a much more fool proof way. Because we all used the same pre made template
to space out and install our back braces, we were all able to use a router and a jig to cut the notches for the braces. Much easier! Much faster!  It's really cool to learn some of these production steps that can save time and stress in later builds.
Before gluing on the back and closing the box forever, I took a moment to thank those in my life that have made this possible for me. I wrote a small dedication on the inside of the top to my late Aunt Trisha. Trisha was my mother's sister, and the first musical memory i have is of her playing guitar for me. This was The start of my musical journey. The dedication will only be visible using a light and mirror to look inside the guitar.
I also wrote a few words on the neck block that will be visible through the sound hole.


The excess overhang of the top and back are shaved off with a flush trim router bit, and the ribs are sanded to be as flat as possible to ensure an even cut later for the binding rout, and whats left is a nice flush guitar shaped box! 


Friday was spent preparing the body for the neck. We use a formula to calculate the the angle that the neck will set into the guitar. This must be calculated to include an amount of expected settle in. Settle in is the amount that we expect the guitar to move from the pressure of the strings pulling on it. Once we have our angle figured out we use the numbers to make a temporary "bridge" shim. We use this shim and a flat block to sand a slight angle into the upper bout of the guitar where the neck will be joined. The fingerboard will rest on this angle also.


The body is then mounted in a large jig set up and the dovetail is routed. The dovetail joint for the neck is the tradition way of attaching the neck to the body. It provides a strong tight fit that will last for years to come, and will be able to be pulled apart later for re setting the neck to correct the angle after many years of string tension pulling on it.


All of my down time this week while glue was drying and things were setting, was spent finishing up my fingerboard. The board is Macassar Ebony, and will match the bridge, and head stock veneer. This week it was carefully sanded to its final 16" radius, and the side position dots were installed. 


Next week i will cut ans shape the neck, set the dovetail, fret the fingerboard, install the binding around the body, and possibly putting the thing together! Its all coming up soon!