Sunday, October 27, 2013

Heirlooms


          This week began a long awaited project for me. I finally have the skills and knowledge to repair and re build my first guitar. The instrument is has been in my family over 40 years. It was bought by my mother from a green stamp catalog issued by her local grocer in the mid 1960's. Grocers and other stores rewarded customer loyalty by issuing stamps in a book for purchases ( much like a punch card at a coffee house ) and offered a catalog of items that could be purchased using the stamps as credits. My mother helped with all of the shopping for her brothers, sisters, and my great grandmother, so she saved the stamps and bought a guitar to learn folk tunes.

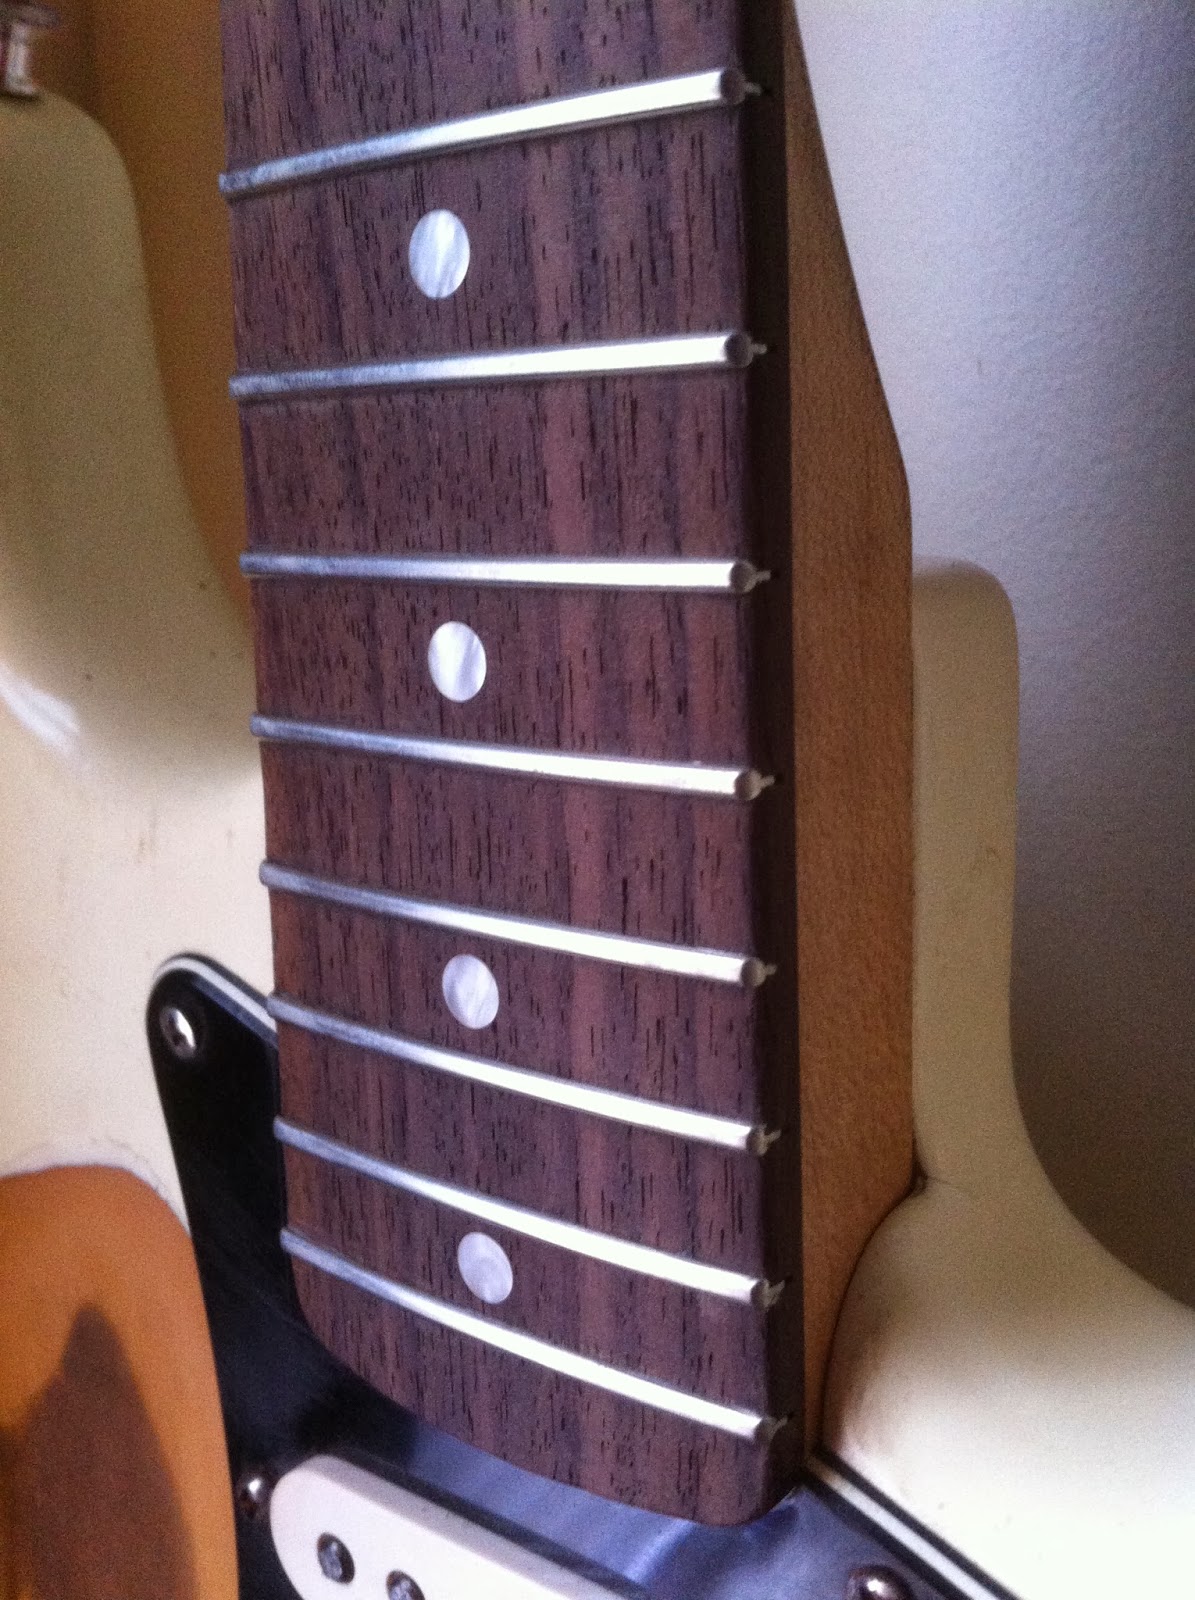
          The guitar was passed to me when I was 9 years old and expressed my interest in learning to play, most likely due to inspiration from my mother's sister Trisha, who played guitar and sang to me often when I was young. The guitar is the standard department store acoustic guitar of the time; birch construction, ladder braced, non adjustable steel reinforced neck, with brass frets, nickel tail piece, cherry burst finish, and painted on white bindings and stars.

          Over the years the guitar has gone with me everywhere, with and without cases to protect it. Its been banged around and left in trunks and is well used. It was designed for light nylon folk strings which I replaced at some point, on bad judgement, with steel strings which damaged the wooden bridge. Years of being exposed to temperature and moisture changes have caused the body to shrink and crack, braces to come loose, and the top to separate from the sides along one edge. The over tension of the steel strings has also pulled the neck out of alignment, which happens over time with most guitars, and causes the need for a neck re set.
 The Five Star with its two loose back braces
 Cracked sides from expanding and shrinking with moisture loss
 Top/side edge joint opened due to temperature and moisture changes
 Loose top leading to crack in side
 Back slightly separating from sides on neck end
 Maple bridge painted black, chewed up by steel strings 
 Inside view where back braces were and need to be re glued
  Slightly damaged back bracing

          In a repair shop this would be an expensive restoration project that would most likely not be undertaken because the cost would greatly outweigh the value of the guitar. However to me this guitar is priceless because of its sentimental family ties, and I hope to someday pass it to any children I may have along with my first custom guitar builds as heirlooms. Over the coming weeks the guitar will receive all the needed crack and structural repairs including re-gluing the top back and bracing, replacing the bridge, re setting the neck angle, re fretting the fingerboard, and a heavy cleaning and reconditioning. All while preserving the original details and vintage look and feel that comes with 40 years of play. When its finished it will hopefully look like its good old self but play better than the day it was new, and be ready for another 50 years! 

          The first step in this process was to steam off the neck to prepare for the body repairs and neck re set. This is accomplished with a combination of heating from the outside and applying steam to the inside of the dovetail neck joint, to soften the old glue. 

          First the fingerboard extension over the body is heated with a hot iron and a pallet knife is worked carefully between the extension and the top. When doing this it is important not to rush and let the heat do the work. Otherwise you risk tearing the top wood out with the neck. 
 The iron heating the fingerboard and a shot of the old brass frets. The 13th fret is removed and a small hole is drilled through the fret slot into the dovetail joint to facilitate steaming out of the glue joint.
  As the board heats up the glue underneath softens and a thin separating knife can be gently worked in between the fingerboard and top wood. After a few sessions of heat and working the knife the entire extension is loos of the top and the knife keeps it from re gluing itself. 
A modified espresso machine with a section of radiator hose attached to the steam port, and a blunted large hypodermic, or basketball needle clamped to the other end , is used to pump steam into the neck joint through the small hole through the fingerboard while pressure is placed on the neck heel by clamps pressing it out using the work bench as counter pressure. 

          After a few minutes if all goes well the neck pops loose from its joint and all is well. The fingerboard extension should be clamped flat to a backer as it dries to avoid cupping or warping, and the soft wet glue in the joint should be removed before it hardens. 

 A very clean removal overall with no tearing of the top or neck and no finish damage.

          I began drawing my acoustic guitar build for next semester in 3D this week using the CAD program. 
This allows us to see the bracing and structural elements in 3D before we make the items. so that if there are any problems we can address them in the blueprint before the build begins.


         The Mandolin build is also moving right along with the installation of the top kerfed linings, and the graduation of the inside of the top arch. 

The inside edges of the corner blocks protrude into the center a bit and must be cut back flush with the ribs for a good fit for the kerfing.  
 After cutting the blocks back with a chisel they are sanded smooth to the ribs.

The kerfing is bent and glued into the inside edge of the rib structure, and held in place by clothes pins with rubber bands around them so that they squeeze the kerfing tightly into place.

After a few hours of clamping the pins come off and the kerfing is ready to be sanded flush with the ribs and blocks later. 
         Then I turned my attention to carving out the inside of the top arch. Called graduating this step gives the arching top consistent thicknesses across its curve. The inside of the top is drilled with a pattern of holes set to exact depths, then the wood is carved out to the bottoms of the holes. The thickness in the different areas is set by the depth the holes are drilled to. 
 The holes are drilled on a drill press with an adjustable drill stop and an adjustable guide beneath the top, This allows for precise thicknesses between the guide and the drill to be set and maintained while drilling. 
 The holes are deeper in the center and shallow towards the edges because the other side is already craved to its final arch. 
The inside is then dished away with a gouge and finger planes until the holes are no longer visible. This creates the inside arch and brings the top to its needed thickness.
 A card stock template is used to draw curves on the inside arches.
 These curves are used to ensure thickness measurements (taken with thickness calipers in mm) are taken in the same places each time to ensure consistency.
Once the holes are no longer visible and the thicknesses are consistent around the curves, all that's left is to lightly scrape and sand the surface to smooth it and remove any imperfections. After i do this the top will be ready for F-holes and then it will be glued to the ribs! 

That's all for this week folks! Keep checking in each week to see the acoustic restoration and mando coming together! 
Oh yeah, HAPPY HALLOWEEN! 

Sunday, October 13, 2013

Skeletons

Its my favorite time of year! 

Caved our first pumpkin last night and got it on the porch! 

        Looking forward to all of the upcoming holidays! But first lets look back at this week in the shop! 
Spent Mondays repairs class working on a head stock/ neck break, setting up a 1994 40th Anniversary Stratocaster,  and checking the nut on my custom electric build from last year. 
        The head stock break assignment was to take one of our old scarf joint neck mock ups, step on it to simulate a head stock crack from a fall or other damage, then glue the crack up with as little evidence left behind as possible. When i did the stepping part on the mock up i grabbed from the box it snapped badly a bit further down the neck from the head stock than most. It was a fairly clean break and without a fingerboard to stiffen it the neck broke in two completely. After cleaning up the pieces a bit I tried dry clamping them to see how well they would mend. Upon inspection i decided that it would need a caul to apply even clamping pressure across the entire break. I made a custom fit caul from a re usable plastic substance from a luthier supplier. The stuff comes in small beads, The beads are softened in water and form a pliable substance that is molded to whatever shape is needed. The form hardens as it cools back to a stiff plastic mold. the mold can then be used as a caul for clamping then re melted and molded to any shape needed. Cool stuff, and if i remember ill get the name on here! After all the extra prep work the repair came out great! just a small line where the crack was! 
        The set up and nut repair were just some standard work that needed doing. Good practice for busy shop time in the future! 

        CAD class was especially rewarding this week! I now have a finished blueprint for my next custom guitar! The guitar is modeled after a Martin HD28 VS. It is a big bodied, slope shoulder dreadnought, with a slightly wider neck, slotted peg head and few of my own custom modifications. The guitar will be my first custom order and I am working closely with the customer to give him exactly what he wants. Keep a lookout for Aaron Paul Custom Lutherie! 


        Speaking of custom lutherie, the mandolin build is still moving along nicely! This week I finished the ribs to give the mandolin a skeleton. The ribs are attached to the neck, tail, and corner blocks and will provide the structure for the top, back and neck. 


        After the ribs are glued and dried, the top half of the inside mold is removed. The lower portion of the mold is left in place until later. A small brad nail is placed in the neck and tail block through the body template. this ensures that everything will line up when the top is placed on the pins. The pins then serve to hold the top in place on the rib structure while the scroll area is finish shaped together and the top is brought to within 1/32" from final outside dimensions. 


        The next step is to install the kerfing around the top inside edge of the ribs, and carve away the inside of the top arch! In a few weeks it will be a dish! 

        Next week there wont be much to report as we have a short week at school, but tune in in two weeks for the next installment! 
   

Sunday, October 6, 2013

Broken Ribs


        Time keeps rollin' and dust keeps flying in the shop as we work through the rainy Minnesota fall
days. As always a lot has happened this week. Some good and some bad! It was a rough week as we were tested on our knowledge of Rhino, and tested our skills at hand bending the rib structures for out arch top and mandolin builds. However things were also new and exiting in CAD class where we began drawing actual guitar blue prints, and seeing our arch top builds coming along is getting to be a real treat.

        Monday In repairs class I finished and received a 199 out of 200 point score on the Complete re-fret on my Stratocaster. The work included removing the old frets, worn from 13 years of hard play, re- dressing the radius on the rosewood fingerboard, installing new frets, leveling, crowning, filing and shaping each end individually over the extreme round over of the board edges, and polishing them to a mirror shine. The job was a bit more work than the average fret job because when I was 18 and untrained in the art of luthiery  i had done some "relic" work to my favorite guitar. Including destroying the finish on the body, and hand rolling the edges of the fingerboard for that "vintage" feel. Needless to say i took it a bit far! Although the guitar feels and plays like a dream now I have found that some repair work will be slightly complicated by my untrained efforts to re create that worn in look! Regardless, now that i have the proper training the re-fret came out perfect and she's ready for another 15 years!
       
        The last thing she needs is a new bone nut, and a set of new locking tuners. I discovered that 2 of the tuning machines had corroded and cracked their housings when i went to re install them. ( Probably a result of a hard life of gigging and general rough use as I continued to naturally age it through years of club gigs practices, and even a few dips into swimming pools!)

        CAD class was tense on Tuesday morning as we were tasked to draw certain items from the Rhino manual with tight time restrictions Our instructor Steve Rossow, who is a CAD wizard ( and has recently done notable things with recreating the great Stradivarius violins using Rhino design programs )   Wanted to quiz us and see how well we were picking up the program and its tools and uses. I am not the most computer savvy cat in the class but I feel that I preformed on par with most of the class. After the grueling test however, we moved on to something much more interesting, and useful to our field. We began drawing from plans a full scale blueprint of a Martin style dreadnought guitar. The finished drawing will include the top, back, bracing, rib, neck profiles, fingerboard with scale, and head stock. I may end up using this print next semester to build a guitar for a friend.

       Thursday and Friday were all about bending the ribs for our arch top and mandolins. During our acoustic guitar builds last year we used a modern method for bending sides in which the side is moistened with water, sandwiched between a sheet of spring steel, and heated with an electric heat blanket as it is gently pressed and clamped over a mold to give it its shape. Then the bent rib is clamped into an outside mold and glued to the end blocks.This year David wanted to teach us the more traditional method of hand bending ribs using a bending iron. This method has been used for many years by stringed instrument makers all over the world and takes a bit of skill and finesse. The bends of the F-style mandolin are especially tough to make for a first timer being that the rib around the scroll area has to be bent to about a 3 inch diameter half circle. Take into account that the rib is only 1.5mm thick and has deep flame figure all through it making it very brittle and this is definitely not a task to be taken lightly. The rib is sprayed with water to soften it and create steam when applied to the hot iron to help the wood conform to its curves. Then slowly and using just the right amount of pressure the rib is pressed and worked around the iron until it matches the shape of the inside mold for the instrument. 


        After each section is bent to shape it is clamped onto the inside mold to dry in place. Once dry the rib is glued to the corner, neck and tail blocks where necessary and clamped to cure. 


        As the rib is bent you must also make sure to keep the piece parallel to the table and perpendicular to the iron surface to prevent twisting it as you move along. Even with the wood softened and the gentlest of pressure even pros sometimes crack or snap ribs. A crack on an outside curve means you must start over with a fresh piece. I was about finished bending this the largest section of rib when i heard and felt that horrible sound. Crack! 

        And so after about 40 minutes of bending and working it was time to star all over! I decided to take a break and finish up another important piece of the build process. I made a template for the neck of the mandolin out of plexi glass that will be used to trace the shape of the neck onto the maple neck stock. I first traced the neck shape onto the plexi glass. Then rough cut it on the band saw. I then trued it up to its final shape using files and scrapers.


        Once the tension from the first rib crack wore off I was able to bend a new section in only a few minutes ( go figure ). This section will be the long piece that wraps from the scroll area all the way around the bass side of the mandolin. It is cut to length and fit into a small notch in the back of the tail corner block to ho;d it in place. 


        All that left is one last small section to cover the rear of the corner block and lock the long rib in place
and the rib structure will be complete! Then is on to linings and carving out the inside of the top! 
       Check in next week to see where we go from here!