Busy week and busy weekend! Lots happening in the shop and at home. This week will be a captioned pictorial post. Just cant find the time to put the thoughts together.
Repairs class was full of clamping and gluing with a bit of measuring and drilling on the side!


On the other side the rib has split down the center. The crack will be glued and clamped together, then braced with a few small patches on the inside.

This crack closes up nicely and is almost invisible.

What crack?

The back has separated from the ribs at the upper bout and glued up nicely.

CLAMPS!!!!

These will be left on over night. Then we'll see what we have.
The 60's Hollow Body Electric bridge update came along a few more steps as well.

The correct scale length was measure out and laid out on masking tape on the top. Then the new holes were drilled for the new bridge posts. Notice how far off the original was!

The plugs and screw holes will be filled and finish matched to hide them.

The original bushing (bottom) was raised off of the top and held in place by two screws. The new bushing (top) is recessed into the top and held in place with 3 screws. The new bridge posts will thread into the new bushings for a much more stable bridge.

Test fitting the new tune o matic bridge. Fits perfectly and should put the guitar in fairly precise tuning.

Looking good. All that's left is to hide all the old holes.
CAD class is switching modes from 3D acoustic drawings to starting our CNC project guitar drawings.
I will be building a custom offset waist, neck through guitar for this project with elements borrowed from some of my favorite electric guitars,
Here's a few shots of the 3D rendering of the top braces for my acoustic build.


In Arch top Construction class I spent the last day and a half of the week fitting and carving the two tone bars that run along the inside of the top of my mandolin build. The bars provide strength and support to the top to help it withstand the pressure of the string tension .

A pencil and a steel washer help to trace the inside arch of the top to the brace.

The brace with the arch of the top traced on and ready for carving.

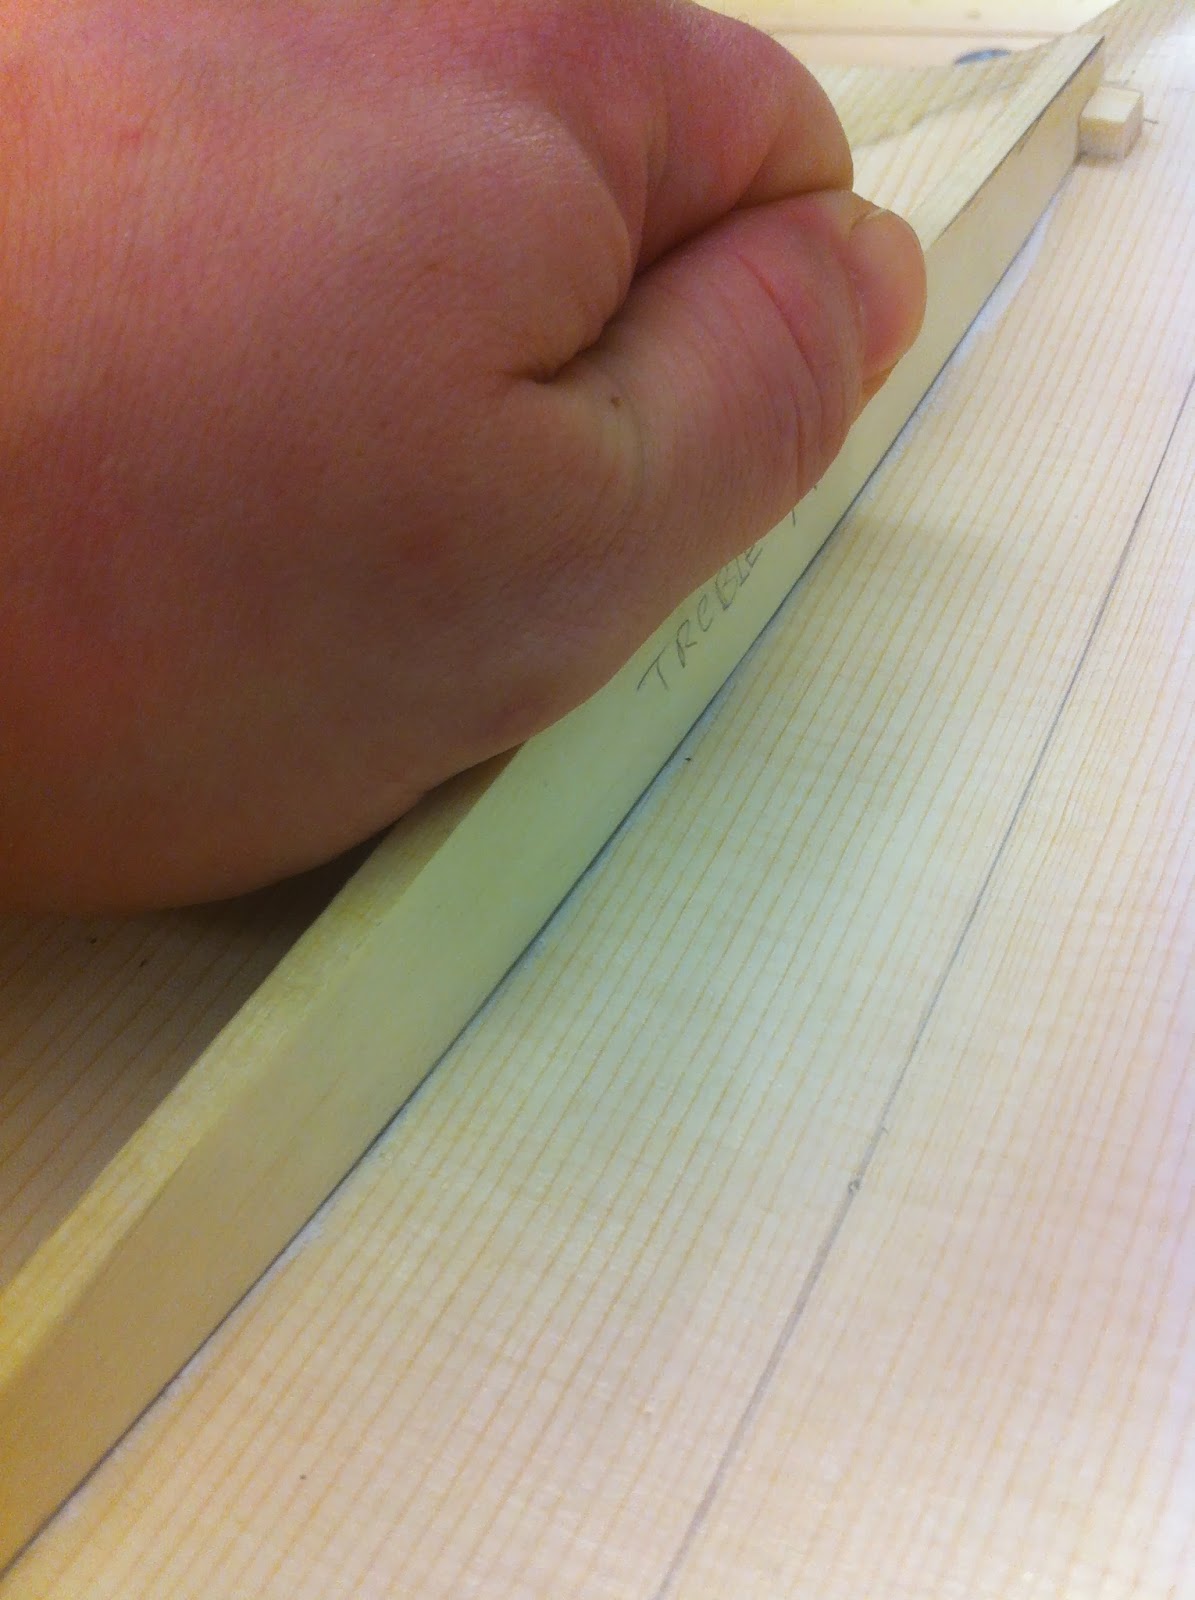
The locations for the braces are taken from plans and laid out inside the top.

Small blocks are tacked in place to ensure the brace is placed in the same place each time as it is fit.

Chalk is applied to the top and the brace is set in place and rubbed very slightly to pick up the chalk.

The brace is then shaved down only where the chalk has transferred. This brings the high spots down until the whole surface is touching.

One down One to go!
Second brace fit nicely to the top in the last few minutes of class. Ill have to glue them in next week!
Yeah Buddy!
ReplyDelete