Well, another busy week has come and gone! Another week filled with much learning. The shop
was filled with the smell of sweat and spruce as we continued carving the arches into our top wood.
The week began with more repair work on the school owned acoustic guitars. I finished the new nut and saddle for guitar #38, gave it a full intonation and set up just in time for the first year students to start learning their set up class next week! Ill begin the fret job on my Sratocaster and the in depth repair of my first guitar ( a grocery store catalog Five Star from the mid 60's ) this week.
Rhino CAD class is picking up nicely as well we have been learning all the tricks for creating 3-D geometry in the program which will allow us to design our wildest ideas for our spring CNC builds.Learning this tech is a real treat and at the same time a challenge for me. I have never used a computer in this way before, and I am very exited about the possibilities this knowledge will bring.
Arch top class is a bustle of activity with all the carving going on. each person will end up with a slightly different end product as we are carving by hand using our eyes and feeling for consistency of the curves. We also use a contour gauge to check our work against finished mandolins.
On Wednesday while working my work-study job for the instructors, my partners Eric, Jon, and I came up with and constructed carving cradles for the mandolins. The cradle consists of a plywood ring in the shape of an A-style mandolin, with the inside edge rounded over and the shoulders cut away to accommodate the scroll of the F-style when flipped for carving the inside. The ring is glued to an MDF backer board and a poplar block is attached to the bottom for clamping to a workbench. As a further safety a layer of 1/8" cork is attached to the ring to prevent marring of the soft spruce tops. With the cradle clamped firmly to the workbench and the top clamped firmly to the cradle both hands are free to do the carving with skill and precision.


Using my new carving cradle I went back to work hand carving the arches into my adirondak spruce top. The process was greatly improve after receiving mu custom gouge chisel from Cape Forge. This is by far the best carving tool I have used so far. It is balanced, strong, and razor sharp. The gouge cut through the spruce like butter and made roughing out the arches a breeze!


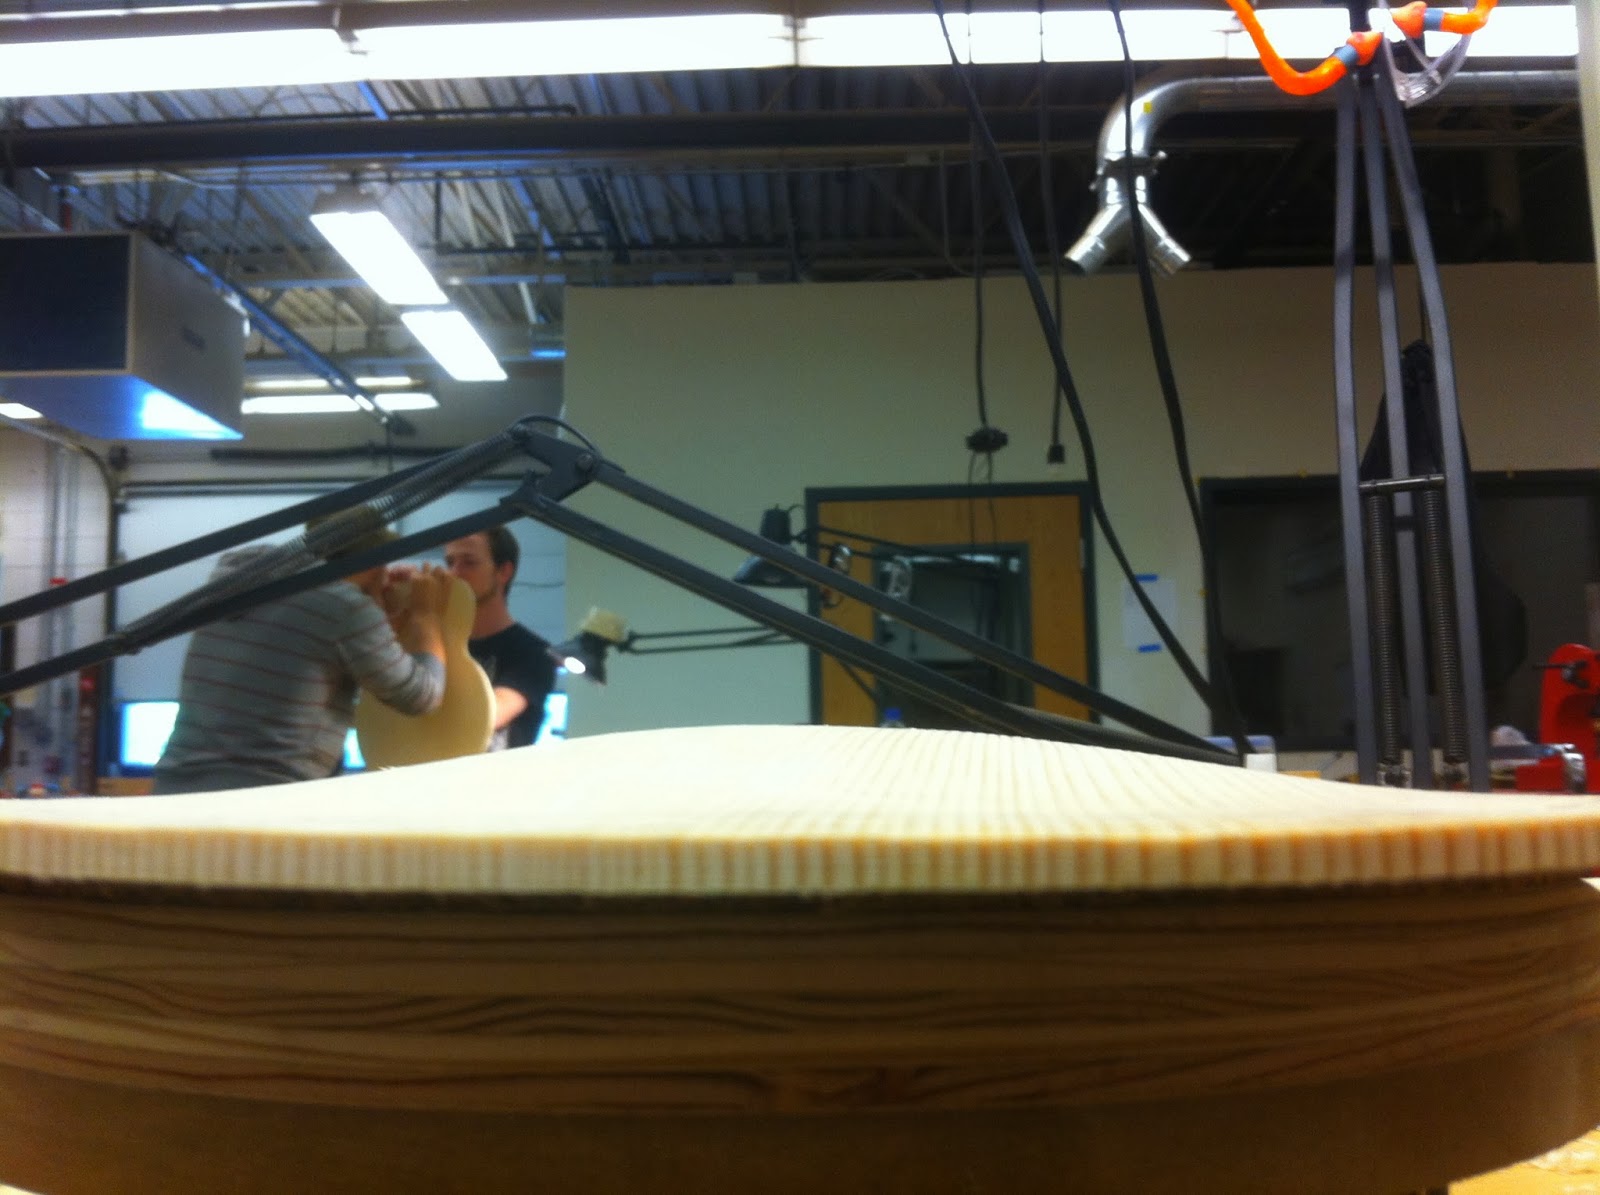

Once the lines were established I began carving the channel with finger planes. There are many things to be aware of while making these cuts. The channel should only be about 1mm deep when finished, and the top should be around 2.8mm thick at the bottom of the channel. As I carved away I checked often with a thickness caliper to try and maintain a constant depth. Another challenge to this task is the grain run out of the wood. As I carved around the shape I often had to stop and change directions to avoid tearing and chipping the soft spruce. Once the channel was all the way around and fairly consistent ( mine being slightly deeper than some and a bit thinner in the center) the entire arch of the top had to be re-addressed to blend and smooth it into the re-curve. This was done using finger planes and steel scrapers to leave a nice smooth arch.


After all was said and done I had a nice smooth arch that flowed down and back up out of the re-curve to the edge of the top. just a bit more scraping, and smoothing and it will be time to carve the scroll and sand it all smooth! And just to show you that this isn't all fun and games, here a shot of the ginormous blister on my index finger that i got from 5 hours of finger planing!

Thanks again for reading and come back next week!
No comments:
Post a Comment