Sunday, September 22, 2013

Blisters on Me Fingers!


        Well, another busy week has come and gone! Another week filled with much learning. The shop
was filled with the smell of sweat and spruce as we continued carving the arches into our top wood.

        The week began with more repair work on the school owned acoustic guitars. I finished the new nut and saddle for guitar #38, gave it a full intonation and set up just in time for the first year students to start learning their set up class next week! Ill begin the fret job on my Sratocaster and the in depth repair of my first guitar ( a grocery store catalog Five Star from the mid 60's ) this week.

        Rhino CAD class is picking up nicely as well we have been learning all the tricks for creating 3-D geometry in the program which will allow us to design our wildest ideas for our spring CNC builds.Learning this tech is a real treat and at the same time a challenge for me. I have never used a computer in this way before, and I am very exited about the possibilities this knowledge will bring.

        Arch top class is a bustle of activity with all the carving going on. each person will end up with a slightly different end product as we are carving by hand using our eyes and feeling for consistency of the curves. We also use a contour gauge to check our work against finished mandolins.
        On Wednesday while working my work-study job for the instructors, my partners Eric, Jon, and I came up with and constructed carving cradles for the mandolins. The cradle consists of a plywood ring in the shape of an A-style mandolin, with the inside edge rounded over and the shoulders cut away to accommodate the scroll of the F-style  when flipped for carving the inside. The ring is glued to an MDF backer board and a poplar block is attached to the bottom for clamping to a workbench.  As a further safety a layer of  1/8" cork is attached to the ring to prevent marring of the soft spruce tops. With the cradle clamped firmly to the workbench and the top clamped firmly to the cradle both hands are free to do the carving with skill and precision.


        Using my new carving cradle I went back to work hand carving the arches into my adirondak spruce top. The process was greatly improve after receiving mu custom gouge chisel from Cape Forge. This is by far the best carving tool I have used so far. It is balanced, strong, and razor sharp. The gouge cut through the spruce like butter and made roughing out the arches a breeze!


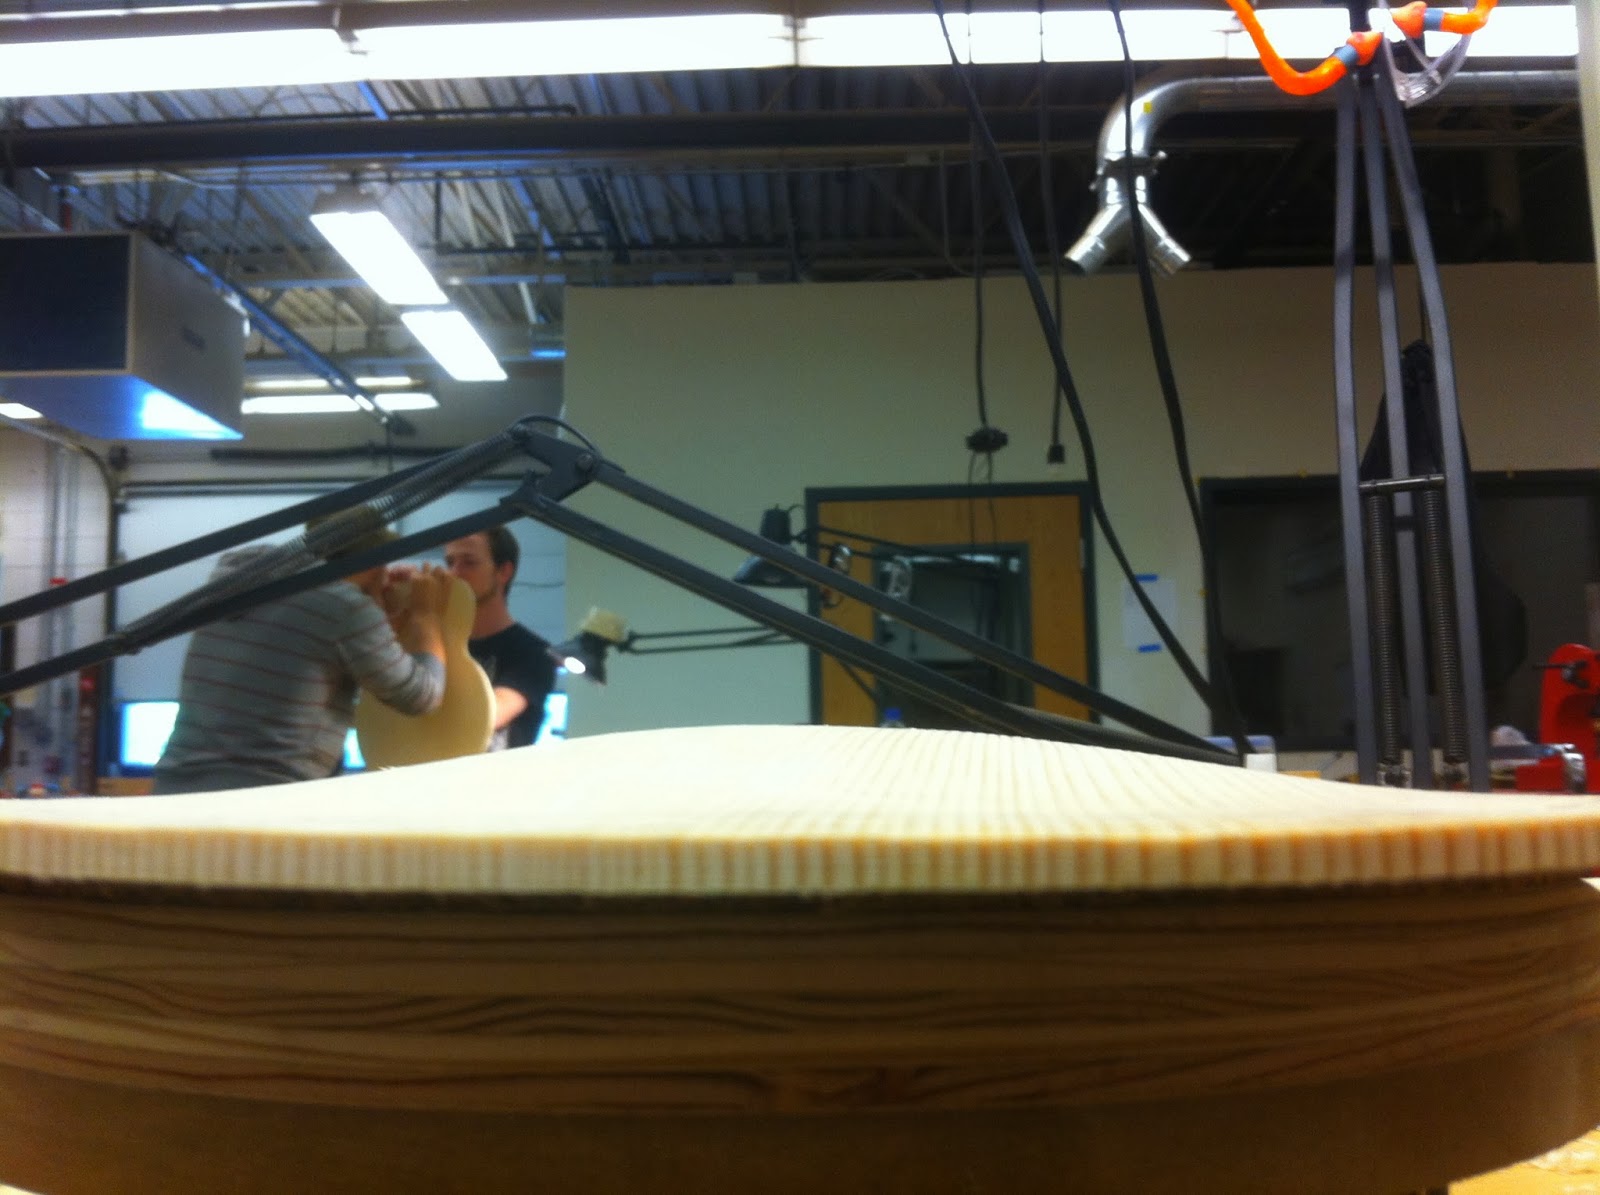
        Once the arching was roughed in and i was happy with the general shape it was time to move on to carving the re-curve around the edge.  The re-curve is a shallow channel around the edge of the instrument that accentuates the arch of the top and makes the wood around the edge the thinnest part of the top to allow the most movement when playing to produce a strong tone. It is not only good for tone and volume but it gives the instrument a refined look.  I began this step by laying out lines on the top to give a guide for where to carve and what to leave alone. There is a narrow flat ledge left around the edge to give a place for the re-curve to return up to, and leave some area to be routed away later for the body binding.


        Once the lines were established I began carving the channel with finger planes. There are many things to be aware of while making these cuts. The channel should only be about 1mm deep when finished, and the top should be around 2.8mm thick at the bottom of the channel. As I carved away I checked often with a thickness caliper to try and maintain a constant depth. Another challenge to this task is the grain run out of the wood. As I carved around the shape I often had to stop and change directions to avoid tearing and chipping the soft spruce. Once the channel was all the way around and fairly consistent ( mine being slightly deeper than some and a bit thinner in the center) the entire arch of the top had to be re-addressed to blend and smooth it into the re-curve.  This was done using finger planes and steel scrapers to leave a nice smooth arch.


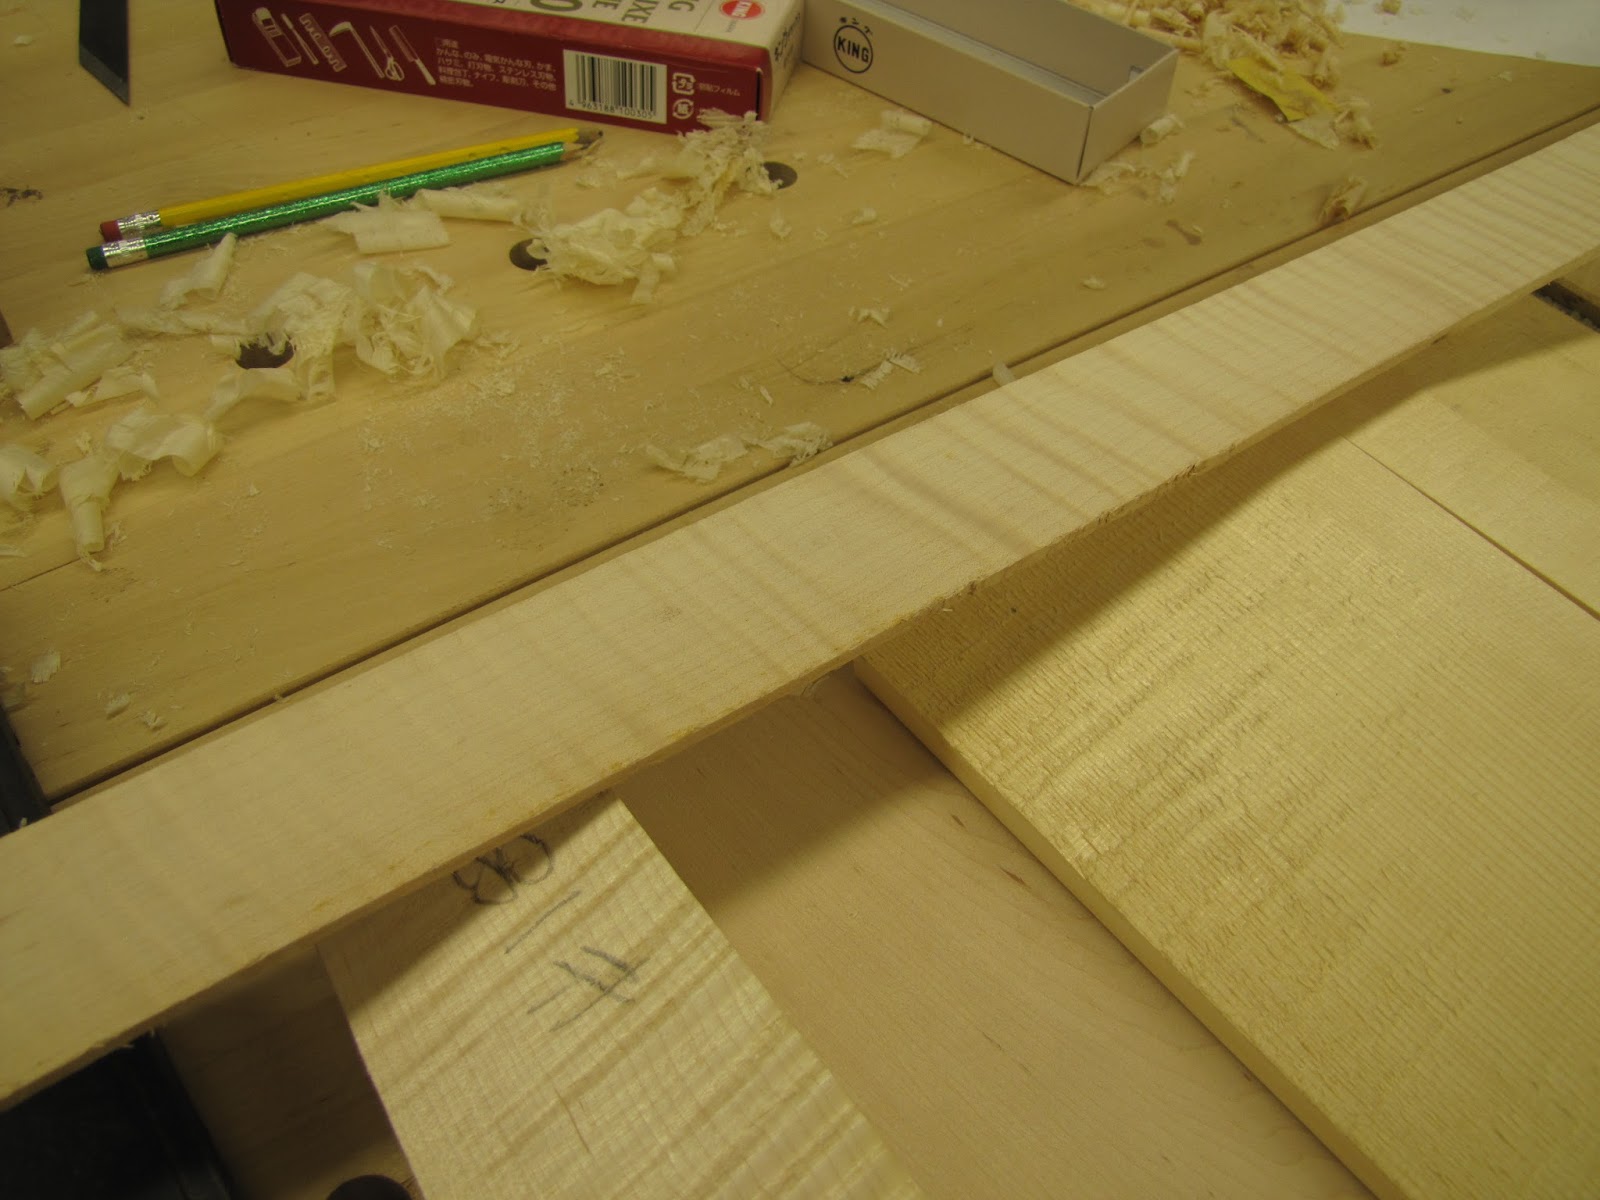
        After all was said and done I had a nice smooth arch that flowed down and back up out of the re-curve to the edge of the top. just a bit more scraping, and smoothing and it will be time to carve the scroll and sand it all smooth! And just to show you that this isn't all fun and games, here a shot of the ginormous blister on my index finger that i got from 5 hours of finger planing! 


Thanks again for reading and come back next week! 

Monday, September 16, 2013

Weeks 2 & 3. Blocks Tops & Carving!

     
       We are moving right along in our 2nd year guitar courses! These past two weeks we have been busy working on our arch top projects, while learning more CAD skills and working on repairs on the school instruments.

       Today I finished the nut, saddle slot re- rout, saddle, intonation, and set up of the school owned guitar I have been working on and began gearing up to re-fret my trusty Stratocaster!

Once this baby has her new frets she'll play better than the day she was born plus have that nice worn in feel!

       Arch top class has been busy busy these past few weeks. After coming back from our Labor Day weekend, we began by flattening the inside face of the joined top. this was accomplished by hand with a block plane checking on a flat stone with a 0.010" tolerance.  Once the bottom was flat I used the joiner/planer to bring the top down flat and the over all thickness to 5/8" to leave enough for carving.
The shape of the mandolin was traced onto the top wood using the template made the first week. That shape was then cut out with an extra 1/8" around the edge to accommodate the thickness of the ribs and a bit of wiggle room. Cutting around the scroll area proved to be very difficult. The cut was made using a coping saw, and jeweler's saw. While making the cut the saw tends to drift to an angle leaving the face of the scroll out of square to the top. I left enough room to clean it up and square it using files and sand.paper.


The sanding around the scroll is done using a copper pipe cut in 3rd's lengthwise, with sticky back sand paper attached to the inside and outside. 

       Another step to complete was making and shaping the inside blocks. The blocks will give support to the rib structure in the points, neck, and tail areas. I constructed the blocks out of poplar. Poplar is a stable hard wood used for guitar bodies, blocks and bracing. It is a light colored wood that will blend well with the maple, and spruce used in the instrument. The blocks are fit to the inside mold, rough cut to shape, and spot glued in place to the bottom half of the mold. Once the blocks are firmly in place the template is place on the top and bottom sides and the shape is traced on. The final shape is cut on the band saw, and shaped with spindle sanders, chisels and files. The scroll area is cut very closely using a fine cut band saw blade. 


       The next step is to start carving the top! Now we are really working wood! First the top is routed to 3/16' thick around the edge. This will be the starting point for carving and almost the final thickness around the edges. There are steps cut into the outside edge of the scroll increasing to full thickness. Then the top is roughen into shape using a combination of scrub planes, block planes, chisels and finger planes. All the time checking with contour gauges, visually, and by hand feeling the curvature. Each step and tool leaves finer and finer results.  The scroll is left raw until later in the process. 


That's a lot of shavings! And that's all you get till next week! Thanks for reading! 


Monday, September 2, 2013

Guitar School Chapter 2

      Greetings all! Its been a busy summer here in Red Wing, with a lot of working, saving, and even a wedding!

Happy to be starting my third and final year at Minnesota State College, Southeast Technical in the Guitar Design and Development program. This year will be another jam packed with all sorts of new knowledge for me to apply to my guitar repair and building skills. Classes this year will include computer aided graphic design using Rhino CAD, CNC carving using designs imported from the Rhino program, Arch top instrument construction of an F-5 Mandolin, and as many other builds as I can fit into the busy schedule. I am hoping to complete two more electric guitars ( a Telecaster, and an SG ) and possibly a commissioned acoustic guitar.

      Classes started last week and already we are humming along! We are already making simple drawings in the Rhino CAD program! This will be an invaluable skill in the research, development, and design of my future guitar endeavors, as well as a useful skill in many other job fields. Many of the top manufacturers are already using CAD design and CNC machines to carve precise copies of their guitar models. This provides precision, and quality control that is hard to match.

      Our first assignments in repairs class are common repair shop type jobs such as filling and re routing acoustic guitar saddle slots for proper intonation. Making new nuts, saddles, and bridge copies. Performing a full re fret, and a neck reset on a traditional dovetail construction acoustic guitar. All of these jobs are common place in most repair facilities and will be graded on quality, adherence to specifications, and time taken. I have already begun to fill and re rout a saddle slot, and make a new nut for one of the school owned instruments.

      I have chosen to build an F-5 Mandolin for my arch top construction project this year! The F style mandolin will be a challenging, and rewarding build with all of its intricate scroll work and fine detail. The back, sides and neck will be carved from beautiful figured red maple, and the top will be high grade Adirondack spruce. The instrument will have an ebony fingerboard, head caps ( front and back ) Chrome hardware, Tortoise bindings, and a vintage amber nitrocellulose lacquer finish.


            The first step in the build was to join the spruce top wedges. Each piece was run through the joiner to flatten the inside face and square the center edge to the flat bottom. The joiner got the pieces almost perfectly square and a shooting board with a joiner plane was used to finish them for a perfectly smooth square center seam.
            The pieces were then glued and clamped in bar clamps for 2 hours checking for a good seam once clamped tightly.


            Once the glue has set and dried the top plate is removed from the clamps and inspected again for a good seam. The joint is almost invisible to the eye, and the plate is ready to be re flattened on the inside surface and prepped for carving.

Book-matching the tightly grained spruce aligns the grain to run out in opposite directions in the two halves. This produces the color difference when viewed from different angles, and also gives strength to the joint and a bit of rigidity to the plate over its surface. 

            While the glue joint was drying we were each given an inside mold structure for the mandolin, which i had made over the summer while working as a work study for the guitar instructors. The mold provides a pattern and form for the rib structure of the instrument and a guideline for the top and back plate. 


            Using a master template I traced and cut a top/back template out of Formica counter top laminate material that will serve as the shape template for the instrument. After tracing the original and cutting the copy closely o the band saw the template is brought to final dimension by hand using files and scrapers. 


And that brings us to Labor Day weekend! Hope you all enjoyed the post and will check in every Sunday for all the latest developments ! Enjoy your Monday off and see ya next week!